Published Date: October 17, 2020
Last Updated on April 10, 2023 by Camper Front
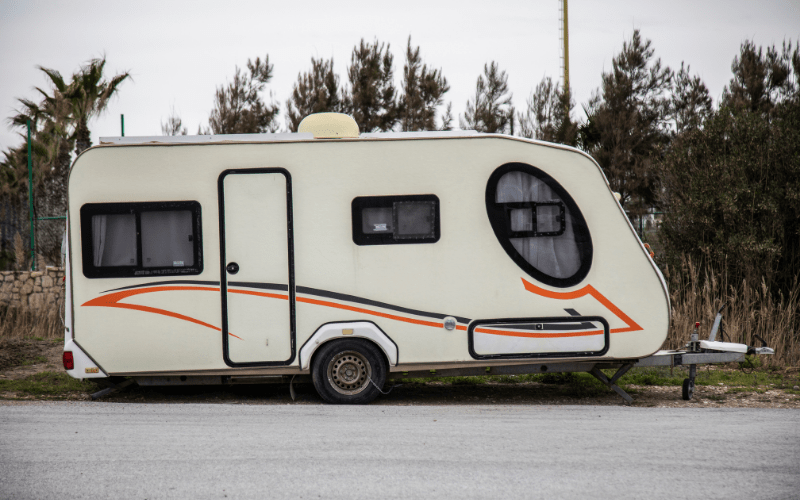
Once the cold periods finally get behind us, it is time to get out your camper from storage and get it ready for camping.
Whether your camper was in used or in storage during the winter period, you will be required to winterize it to prevent the biting wrath of the cold from damaging your camper.
Now that warmer times are here, we will be showing you the step-by-step process of de-winterizing your camper so you can properly make use of it. So without further ado, let’s look at how to de-winterize a camper trailer like a pro.
Table of Contents
What is RV Trailer De-Winterization?
Before we get into the camper de-winterizing process, what exactly is de-winterization?
De-winterization is basically the process of undoing the preventative work that was done during winterization, especially in your plumbing system.
Plumbing system winterizing is done by either running antifreeze through the plumbing system or using an air compressor to expel every drop of water from the pipes.
De-winterization does not only involve the plumbing system; there are other parts of the RV that must be winterized and also de-winterized. And we are going to talk about every each of these parts.
How To De-Winterize A Camper Trailer
Having understand what de-winterization means, let’s now learn how to de-winterize a camper trailer effortlessly:
1. Clean The Exterior
I feel like this should be the first thing you should do when de-winterizing your camper. Regardless of whether you cleaned your camper before storing it, you want to give it a good wash starting from the top. You also want to thoroughly examine the body of the camper.
Look for cracked caulking around vents and access or storage doors; if any, they should be fixed immediately. This is because a leak that is not repaired quickly will result in a ton of other problems like wet insulation, mold, and delaminated walls and floors that can begin to disintegrate.
You want to be on the lookout for any loose screws, cracks or dents, and any other issues you may find so that you can take them into record and eventually fix them.
If your camper is equipped with slideouts, you will need to extend it, give it a good rinse, and leave it out to dry. However, you have to take note that awnings made of fabrics like sunbrella have very sensitive textures and can begin to leak if the wrong cleaning solution was used on them.
So before you apply a cleaning solution to your awning, you want to go through the manufacturer’s manual and check for the specific care recommendations for your awning. You also need to check for rodent damage and see if there’s any wear or tear at the ends of the awning rail.
If you have an electric-powered slideout, you will need to check on the battery first before doing this. While checking out the exterior of your camper, you will need to also check your running lights, turn signals, and brake lights at this time and replace any bulbs that are out.
If your camper was stored outdoors during the winter, you would need to the roof as heavy snow accumulation can lead to structural damage or cause seams to crack; you also want to check for any water damage.
If your camper has a hitch for towing, you also want to check its component for any sign of rust or damage, making sure to replace any damaged parts to prevent having a broken hitch and getting stuck on the way.
2. Check the RV Battery
Your batteries are also another major component of your RV, and they should be checked during the de-winterization process. You need to check the voltage of the battery, and you can do this using a voltmeter.
You want to make sure the RV isn’t plugged into any source of electricity, or you may get a false reading. If your 12-volts RV battery is fully charged, it will read about 12.7 volts; if it reads anything below that, then the battery should be charged.
To charge your batteries, simply attach the battery charger to the RV charger while the battery charger is turned off, and then turn on the battery charger and allow the battery to charge completely.
This may take anywhere from a couple of hours to a few days depending on the size of the battery and how low its level of chargers is. After charging your battery, you also need to check on the electrolyte solution level.
This solution is found inside your battery and should be topped with distilled water if the level is low. It is usually recommended to do this step before charging your battery to make sure the electrolyte level is not below the battery’s plates before charging.
Once that is done, you want to reinstall your RV battery properly, making sure it is connected securely. You also want to check the battery’s connections and make sure it isn’t covered with corrosion; if it is, you can make use of a simple mixture of baking soda and water to remove it.
Also, check for any cracks on the batteries that may have been caused by the cold. If there is any crack, the battery will need to be replaced as broken batteries cannot be repaired. When removing the batteries, you need to be extra careful with the wiring.
You want to Make sure the positive and negative wires are marked. If you have multiple batteries and only one or two of them is cracked and damaged, when replacing the damaged ones, you will need to replace all the battery packs at the same time.
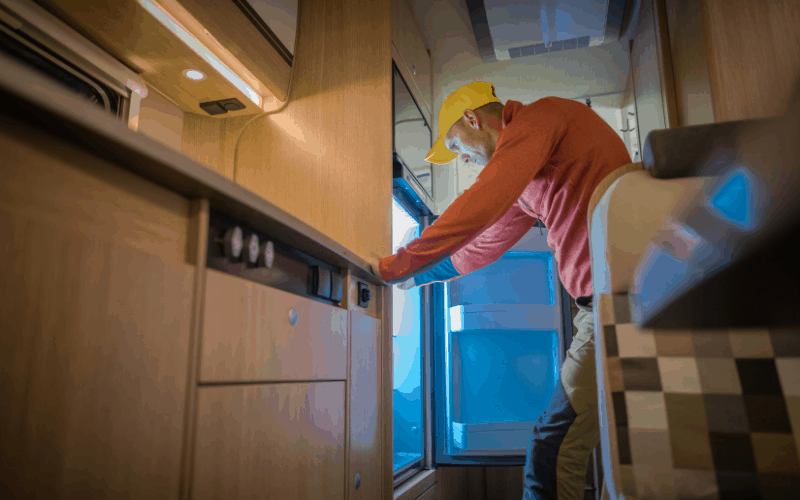
3. Check The Interior of the Camper

For the interior part of your camper, you may need to do some cleaning. But if you already did that putting your camper into storage, you will need to thoroughly check the camper for any sign of water damage and also for rodent and insect damage.
You need to check around the sides of your window for any sign of water infiltration; this may present in stains on drapes, drip lines on walls below windows, or residue from puddles on the floor. You do not want any leak to go undetected as it can result in serious damage to your camper.
You also want to check any signs of leaks under the refrigerator and around the furnace as these items are vented outside and can be a source of water infiltration.
Open up the windows and lubricate all the seals and mechanisms to ensure a smooth-running throughout your trip. If your window is stuck, you do not want to apply force to open it up; instead, get a piece of dental floss through and drag it around the opening to clear the seal.
You do not want your camper’s windows to remain closely shut when towing it because glass has been known to shatter as the body of the trailer flexes in transit.
You also want to check inside the cupboards and closets for any sign of rodent or insect damage. If your cupboard or closet is infested with rodents, the smell will be the number one indicator, but they might also be frayed materials and their waste.
If there is evidence of rodent infestation in your camper, you will need to check on the wirings and plumbing to make sure they haven’t been chewed.
4. Check Your Tires
While your camper sits out in storage, it is bound to lose 2-3 psi of air pressure each month. If the storage area of your camper is extremely cold or outdoors, your tires will lose more pressure over time.
So you will need to set your tires back to the manufacturer’s recommended tire pressure. You also want to inspect your camper’s tire for any sign of cracking on the sidewalls. You also want to check the interior sidewalls of the tires for cracking as well.
5. Check The Plumbing Pipes
Checking your plumbing pipes for leakage is also very important regardless of your form of winterization. To carry out this check, you will need to add water to your fresh water tank, then turn on the electric pump and allow it to pressurize the water system.
When the system reaches full pressure, the pump will shut off automatically, but if the pump doesn’t shut off or restarts after stopping for a couple of minutes, there’s a leak somewhere along the pipes. You can locate the leak by checking the pipe system and also checking underneath the sink.
Any found leak should be repaired immediately to prevent water damage. You can get a professional to do the repairs for you if you are not able to do it yourself.
6. Check The Engine
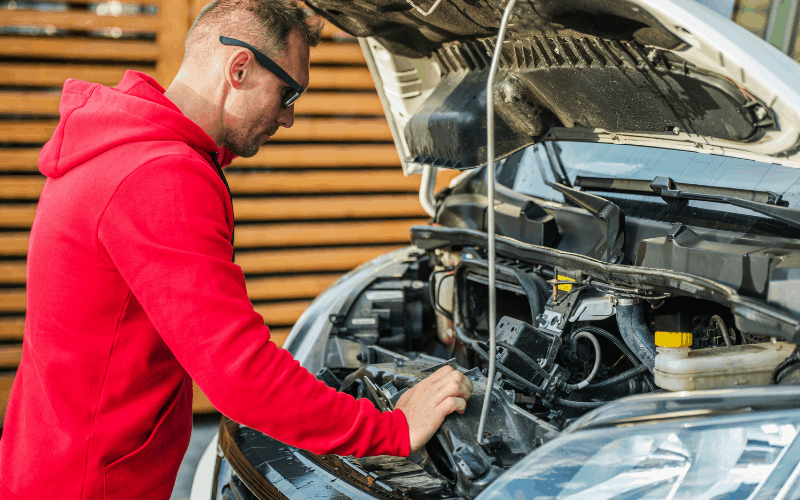
You also want properly inspect your camper’s engine and make sure that all lights and controls are fully functional. You also need to check the fluid levels of the engine oil, brake fluid, power steering, transmission, engine coolant, and windshield washer fluid.
If any of this fluid has a low level, top them off before heading out with your camper. Once that is done, you will need to start up the engine and check the readings on all gauges and verify that the dash lights, headlights, taillights, and windshield wipers are working.
If you see any service light, take your camper to a mechanic so they can have it inspected.
7. Change Filters
If your RV has internal water or air filter, you will need to have it checked and have it changed if necessary. You don’t want to embark on a camping trip with filters filled with dust from the previous trip.
You can go ahead and change the filters in your air conditioner and water system in order to improve their efficiency. When shopping for new filters for your air conditioner and water system, you want to make sure it is the correct size so that the filter can fit in snugly to effectively filter out dirt and bacteria.
8. Flush Your Water System
If you had winterized your camper using antifreeze, flushing your water system will be one of the procedures you have to carry out to de-winterize your camper. To enable you to make use of your camper’s water tank, you will need to flush out the previously used antifreeze.
To do this, you must first turn the water heater bypass valves to “summer” or “normal” however they are marked; this allows water to flow back into the water heater tank so that the system can be tested.
Then connect your camper to the city water and open your tap only halfway through. Before this, you want to turn off any faucet inside the camper. Once the water has been filling up for a while, turn on the cold water tap in the kitchen sink, you will be getting a steady pink stream coming out of the tap.
You can go ahead and open up other faucets in the camper to enable the pink matter to drain quickly. While this is going on, you can check for leaks in the pipes and handheld shower if you have one.
Next, flush your toilet a couple of times until no antifreeze is seen. You may need to wash the toilet bowl because antifreeze tends to leave a pink mark behind. Once clear water begins to flow through the tap, you can turn off the water and disconnect from the tap.
Then add some water inside your freshwater tank and then run your pump to get it cleaned as well. After flushing your water system for a couple of minutes, your water should be clear and taste fresh, but if it has a residual antifreeze taste, you can add baking soda to help remove this unpleasant flavor.
Just sprinkle some baking soda into each drain directly or dissolve it in water and pour it down the drains. Flush the system again until the water tastes clean.
9. Sanitize Your Water System
After flushing out the antifreeze from your water system, the next thing to do is sanitize it. This is a very important step as it helps to remove mold and bacteria that might have built up inside the water tank.
To do this, close all drains with drain plugs and measure a one-quarter cup of household bleach for every 15 gallons your freshwater tank holds.
Pour the bleach into a one-gallon container and add water, mix it thoroughly and add this mixture into the freshwater tank fill. Then fill the remaining space of the water tank with water. Next, Turn on the water pump and open all taps.
You want to run the water until you can smell the bleach and then close the taps. Allow the solution to sit for up to twelve hours in the water tank and water lines, then drain all of the mixtures from the system.
Once that is done, refill the fresh water tank with potable water and flush the system by turning on the water pump and opening all faucets. You want to allow the water to run until it no longer smells like bleach.
Allowing bleach to sit in your water tank and pipes should not be more than 12 hours, as bleach can cause the synthetic seals of your pipes to deteriorate quickly.
10. Check Your Holding Tanks And Sewer Pipes
Before storing your camper, you want to make sure that the black and grey holding tanks are empty. So when de-winterizing your camper, you will need to carefully open the tanks, starting with the grey tank. You want to be gentle with the process and stop if it seems stuck.
You can apply a tank lubricant and allow it to sit for a while to soften up the valve seal. When the valves of the tanks have been opened, put a gallon of water into each of the tanks and flush it out. Then you can leave a gallon or two of water in both tanks to soften any residue inside the tanks.
For the sewer hose, you will need to hold both ends of the hose up and fill it with water to check for leaks. This should be done regularly to avoid being stuck with a leaky hose when you are at a dump station.
11. Check Propane Tanks
Before testing your trailer’s propane system, you will need to switch off the tank valves and all appliances that run on LP. Avoid smoking or lighting any flames or sparks. Ensure to Inspect the entire propane system for any sign of leaks.
To do this, simply apply soapy water on the valve and regulator and check to see If the water starts spurting or bubbling; if it does, that means that your propane system is leaking and needs repairing.
You should also do a visual check for cracked hoses or rodent damage. Replace a damaged hose immediately before turning them on.
You can also check for leaks by turning on the leak detectors in the camper. If you suspect a leak, turn the propane off immediately and have it checked and repaired by a certified trailer service technician. If all the gas lines are working correctly, you can open the valves to restore gas to the propane system.
12. Test Your Appliances
After checking out the propane system for leaks and there is none, you will need to test out all the propane-powered devices.
Check the cooker and make sure it is burning properly, then check on the furnace and refrigerator. Make sure the refrigerator is working perfectly on both gas and electric mode; you can also go ahead and test the water heater.
If all of your propane appliances are running properly, you will need to plug in your camper and test the 120-volt appliances. You want to make sure the electricity source is 30 or 50 amps so that appliances like air conditioners and microwaves can function properly.
Test all the 120-volt appliances and make sure they are all working perfectly.
13. Check Safety Device And Generator
Safety devices like a smoke alarm, fire extinguisher, carbon monoxide detector, and LP detector should all be checked before you head out. For the battery-powered ones, you need to replace the batteries and test them out to make sure they are still working.
You also need to check the expiring date of your fire extinguisher and buy a new one if the one you have has expired. If it is a dry powder extinguisher, you should release any powder that may have settled during storage by shaking it and tapping it on the bottom.
You want to keep yourself abreast of monoxide poisoning signs and what each safety alarm in your RV sounds like. You also want to learn how to operate a fire extinguisher.
For your generator, you need to check the oil level and get the generator serviced by a professional if the level is low. You also want to check the generator exhaust system for any damage because making use of a generator with a damaged exhaust system is very dangerous.
After carrying out the inspections, you can turn on the generator and allow it to run for a couple of minutes, especially if the generator was left idle during the storage period.
Conclusion
Knowing how to de-winterize a camper trailer is as essential as knowing how to winterize it. There are two different procedures you need to carry out in order to keep your camper in good shape.
Hopefully, this article has given you all the information and walkthrough you need to de-winterize your RV trailer. You don’t want to omit any of the steps as it may lead to your camper not being properly de-winterized.
Do let us know if you have questions!