Published Date: August 10, 2020
Last Updated on March 9, 2023 by Camper Front
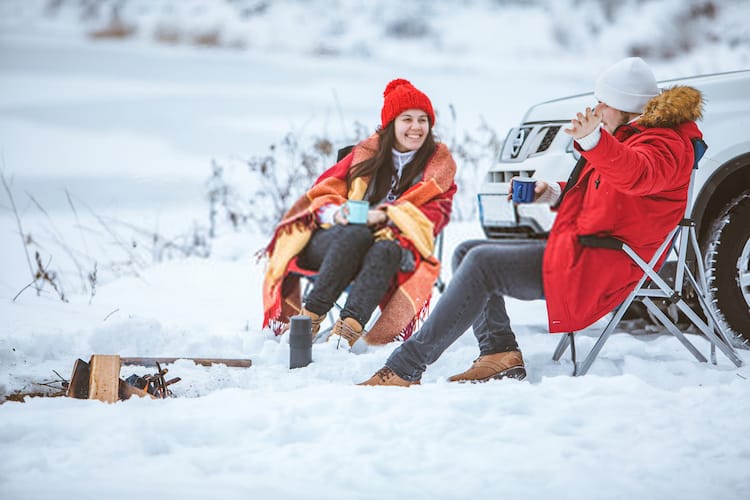
Knowing how to keep RV pipes from freezing while camping in the winter can be a dilemma. The last thing you want is frozen water pipes and holding tanks, which could cause a huge mess, you definitely don’t want that.
To prevent that from happening, there are a few precautionary and safety measures you need to apply, so if you are looking for the easiest means of preventing your RV pipes from freezing while camping in the winter, keep on reading.
Table of Contents
How to Keep RV Pipes From Freezing While Camping
Pamper Your Water Pipes And Tank
Now, this might sound “off-key,” but if you want to make the most out of your winter camping, you just have to go the extra mile for your RV’s plumbing.
There are actual steps and procedures you need to follow in order to prevent your RV’s plumbing from freezing, but these are a few tips and tricks you can use to ease the process.
Upon arrival at the campsite, fill up the tank and drain and store your hose. If your water tank isn’t heated, you are required to leave enough space for possible expansion when the water freezes so your holding tank does not explode.
You can also add RV antifreeze to your holding tanks as a precautionary measure that keeps your tanks and valves from freezing.
If you are heading to a campsite with electric hookups, you can consider taking an electric space heater, but make sure to go for a heater that shuts off if it happens to fall over or an oil-filled electric heater that saves you from the humming fan noise at night.
This step will save you a lot of costs on propane purchases.
Also, if you happen to have an exterior shower head, you may need to remove it and drain the hose. You also want to store it when not in use because an exterior showerhead is in the most danger of freezing and damage.
You can also keep your cabinet door open if the back of the shower opens into the cabinet, and this will help to protect the water line and allow proper circulation of warm air, which helps to keep the water lines warm.
Lastly, you always want to be armed with a heat gun or hairdryer because ice tends to build up in your dump valves and termination caps, and you will need to thaw them.
Insulating Your Water Pipes
The first thing you want to do is provide at least one layer of insulation to your water pipes; you can make use of insulating tape which is quite affordable and easy to use.
You can also make use of foam insulation. You just have to make sure you have enough room to wrap it around the pipes and also add a protective PVC shield around it to keep it in place.
You can also invest in closed-cell spray insulation, especially if you are a regular winter camper, this will coat your RV’s entire underbelly with durable and high-R value insulation.
This will help to keep your floor warm and reduce the amount of propane you need to maintain a heated temperature inside your home.
There’s also an option of using standard pipe insulation, which you can get easily from a hardware store; the only downside here is that it might be a little bit difficult to install, and you will need zip ties and some duct tape to hold it in place.
The last thing you want is an unsecured water pipe underneath your vehicle while speeding through a highway.
Installing A Water Heater/Heating Pad
Another great way to prevent your RV pipes from freezing is adding a water tank heater, because when camping during winter, draining your water tank does little or no good.
Use a self-adhesive backing to fix a water heater underneath your water tank then plug it into a power outlet. Heating pads can also come in handy in situations like this because most of them come with an in-built thermostat that gives you control over the temperature levels.
You can turn up the heat at night when it is the coldest, and you can also lower the heat during the day when it starts to get warm.
Heating pads are technically a series of small electrical resistors, which can be used to generate a small amount of heat. Combining this method with other insulating options is a great way to combat freezing, especially if you are planning to stay at a campsite with weather below -32 degrees for a long time.
Applying a heating pad to your holding tanks and water pipes will help to keep them from freezing and also reduce the risk of wind chill, which contributes to the problem.
You can also try using a lamp in the water holding compartment as this will help to generate a small amount of heat in the enclosed space, which reduces the coldness of the outside tank.
Insulate Your Water Valves
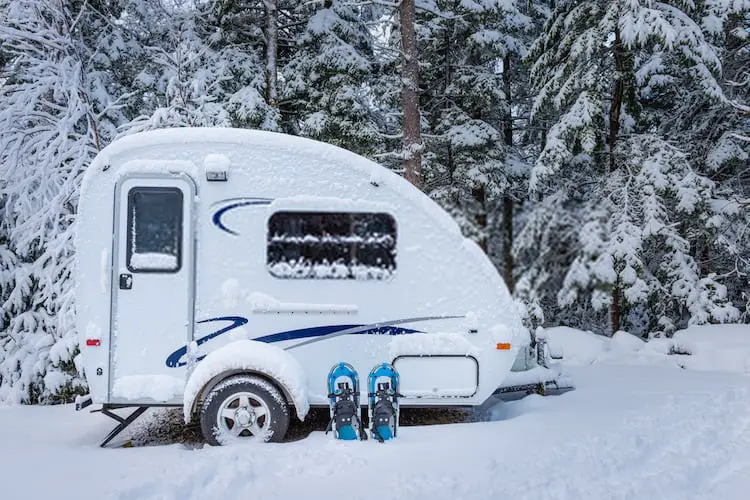
You can use skirting around your RV to keep in the heat and prevent your water lines from freezing, as a skirt primarily protects the underbelly of your RV from the harsh outside elements and also protects the exterior water lines and valves.
Skirting is actually a mainly recommended form of insulation as it effectively prevents the wind from blowing underneath your RV freezing your water tank and sucking the heat out of your home.
You can also go a step further by applying insulating foam boards around the perimeter of your RV, which helps to prevent it from getting extremely cold underneath. As stated earlier, you can also use a space heater or heat lamp to thaw any ice that is likely to form in your water valve.
They can come in handy in helping to keep the exterior compartment on your RV, which is most susceptible to freezing warm and free from damage.
You can also make use of an electric wrapping blanket, which you can use to wrap around your water-holding tank to prevent it from freezing, especially when the temperatures tip zero.
To further prevent your water tank from freezing, avoid dumping the tanks until they are almost full because empty tanks are more likely to freeze, ensure to plug the water valves and hoses with ice, this helps to keep the valves closed and ensures the water stays inside.
Maintain A Warm Temperature Inside The RV
When the temperature in your RV falls below 20 degrees Fahrenheit your pipes are prone to freezing, so you need to ensure your thermostat is set to at least 45 degrees; this will make your interior never get to a freezing temperature.
If there are gaps or holes in your door hinges or where the pipe exits to the wall or floor, try filling it with some sealant as this will prevent the escape of warmth and also prevents bugs and rodents from entering your home.
Always remember to allow proper ventilation when running a propane furnace as this will allow toxic fumes to escape, you can also further prevent warm air from escaping by lining your doors and windows with products like insulating curtains and reflectix.
This will help to maintain warmth in your RV. You can also make use of foam flooring boards to further insulate your RV, placing heavy rugs and carpets also helps to keep the freezing temperatures at bay.
Also, allowing the water pipes to pass through the body or through the door of your RV instead of an exposed underbelly will help to keep your RV warm and prevents freezing effects inside the water pipes.
Using a Propane Heater/Furnace
Before applying this method, you will need to put in place an insulated skirting, which helps to trap warm air under the RV.
This is because, without something to block the wind and hold in warmth, your propane heater will basically be useless.
Just like with other methods of heating, you need to allow proper ventilation to prevent harmful gasses from building up and infiltrating your RV because propane heaters tend to produce a little bit of carbon monoxide, which can be harmful.
You also need to be smart about fire safety, because the heat will be highest near the propane heater, so you need to remove anything flammable or combustible nearby, and also make it a routine to keep an eye on the heater periodically.
If you are looking for a more safety cautious heater you can use and leave overnight, there are a few options you can choose from;
1. Tower Heaters
Tower heaters can also be classified as ceramic heaters. This is because they use the same heating method to heat your space with ceramic plates and wires.
The only difference is that they are taller and less compact. Because of this, they are able to provide more heat at a faster rate than a small, portable ceramic heater.
Both tower heaters and ceramic heaters are great for occasional use when you are camping during winter. They are not very durable or meant to be used constantly, but they are great furnace additions.
But because of these few setbacks, you should always inspect them for wear and tear each time you plan to use them.
2. Rolling Fireplaces, Built-ins, and Inserts
Many RVs tend to already have these as an upgrade option. If your RV does not include them, you can easily purchase rolling fireplaces online or in some hardware stores.
A few models of these ceramic heaters are built to appear as wood-burning fireplaces. Others use an infrared system to produce heat.
These heaters can give out a pretty good amount of warm air and are an excellent option for larger spaces. Also, they are made to withstand prolonged and frequent use.
3. Ceramic Heaters
These heaters are very compact, easy to transport, and easily accessible. They are not high-powered but can be used to heat up smaller enclosed spaces, such as if your cockpit is separate from your living space.
Ceramic heaters work by using ceramic plates, wires, and a blower. These internal wires conduct electricity to heat up the internal ceramic plates. A fan then blows over the plates to push out warm air into your space.
Thawing Your Frozen Plumbing
If you find yourself in the unfortunate situation of having a frozen pipe or tank, there are some simple procedures you can carry out to prevent further damage;
The first thing you will need to do is determine the frozen point, once you find the area, start using a heat gun to thaw the area.
Apply it at one spot for not more than 10 minutes before moving to the next area; if you don’t have a heat gun, you can use a hairdryer though it might take a longer time.
Once the pipes are successfully thawed, the next line of action is to carefully disconnect the hose from the ports of your RV.
If you find it difficult to disconnect, you need to thaw it further, never try to use force to do the disconnection as it could cause more damage.
Bring the detached pipe inside your RV to receive some warmth; you can also leave it in the shower to allow the water to drain out as it melts.
Before reattaching your hose, you will need to check for any damage and check your pipe for any cracks or tears before reusing. It is always recommended to keep an extra hose handy in case of irreparable damage.
Conclusion
Talking about how to keep RV pipes from freezing while camping, always remember that prevention is undoubtedly better than a pound of expensive repairs.
If you are taking a trip during cold times, or you are planning to stay in a region where even summer temperatures can sometimes dip below freezing at night.
You might want to consider arming yourself and your vehicles with one of the above methods in order to prevent damage to your RV’s plumbing lines and even your health.