Published Date: July 5, 2022
Last Updated on August 10, 2023 by Camper Front
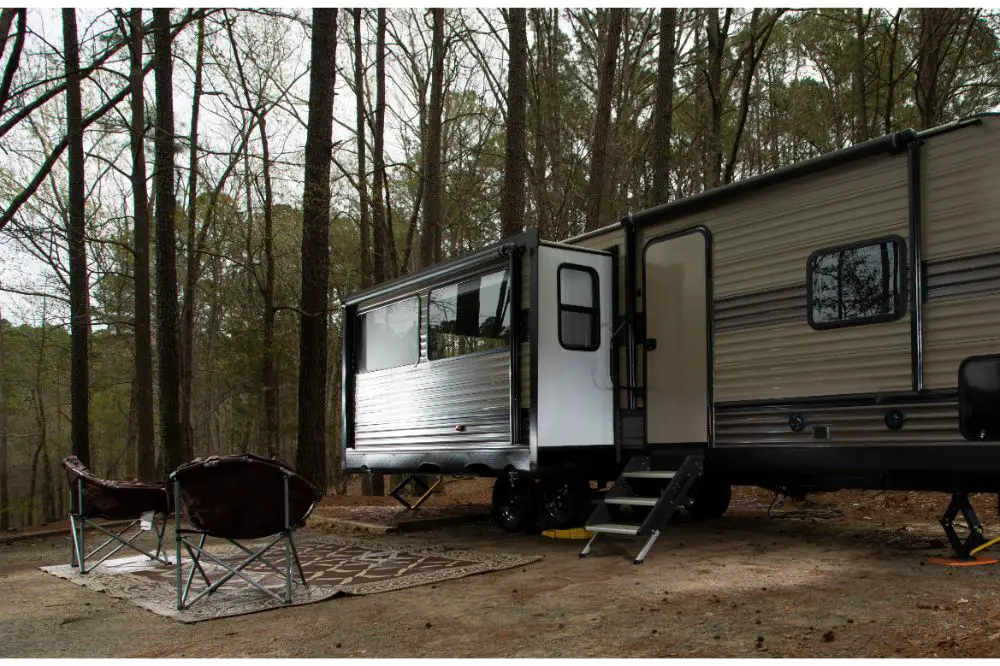
A recreational vehicle (RV) slide-out is a feature that comes in handy when camping in your RV and you need extra space. Discovering that it’s sagging can be extremely disappointing, especially when you need it to be at its best. There are several reasons the slide-out may be sagging.
And to fix it, you need first to figure out what the reason is. Once you know what is making the slide-out sag, fixing it is easy. Here we will take a look at how to fix a sagging RV slide, so let’s get right to it.
Table of Contents
Possible Causes of a Sagging RV Slide Out
A sagging RV slide-out can be caused by several reasons, such as damaged seals, misaligned tracks, and worn-out bearings and rollers. To identify the cause, carefully inspect the parts of the slide out. Check the bearings, rollers, and tracks to see if they are damaged or worn out. If they are, you will need to get replacements
You should check the tracks to ensure they are aligned. Any misalignment will need to be corrected. It would help if you inspected the seals for any damage, and damaged seals will need to be replaced.
Here are a few possible causes of a sagging slide-out:
- The slide-out carries too much weight for long periods.
- The rollers or rails are damaged or improperly adjusted.
- Some screws are loose.
- The suspensions or bearings are worn-out.
- The sidewall or roof of the car is sagging, causing the slide out to droop in turn.
How to Fix a Sagging RV Slide Out
You have to first identify the problem before fixing the slide out. The cause of the problem will determine what needs to be done to fix it. Here are the ways you can fix the slide-out:
1. Check the screws. The slide-out may be sagging as a result of loose screws. Check the slide-out mechanism and tighten any loose screws.
2. Examine the brake’s arm slip. The sagging could be caused by the brake’s arm slip, which may withdraw the arms, causing the slide out to sag. The pressure applied on the outer edge of the inside floor, as it holds the slide-out’s entire weight can also cause sagging. To fix both problems, the slide should be slid repeatedly out and in to realign the arm, solving the issue of sagging.
3. Cracked bolts and lost accessories. The bolts may be cracked due to supporting excessive weight. Carefully inspect the slide out for lost accessories or cracked ones. Replace lost ones and fix cracked ones to eliminate sagging.
4. Inspect the seal. The problem may be with the seal. Check the seal to be sure. If there is sagging there, place a woodblock beneath the area to hold that area’s weight. Use a wrench to loosen the bolts on the hanging side. Then use any probing tool and push the rail up and move its weight.
5. Check the tracks. If the sag is in the tracks, loosen the bolts with a wrench and turn them into the correct position. If the problem persists, you may have to get new parts.
6. Check for rust and leaks. Keep an eye out for rust or leaks in the slide-out, which should be fixed immediately. Ask a professional for help if the leaks are inside the frame.
7. Check the adjustment points. You can usually get rid of a sag in the slide-out by checking the adjustment points. A bar holds up the slide out and you can move the bar to any desired direction and position.
If the front of the slide is sagging, loosen the bolts on both sides of the bar and move the bar in or out to achieve the desired height. If the back needs to be adjusted, loosen one bolt at the adjustment spots. Loosen more than one if you have to. Tighten the bolts when you’re done.
To adjust a horizontal slide out, loosen and release the bolts on the bar’s end hooks. Then horizontally align the slide’s room by pressing outside or inserting a pry bar between the carriage and the room. Once that is done, fasten and tighten the nuts to ensure correct alignment after the sagging is fixed.
To adjust a vertical slide out:
- Loosen and release the bolts of the end hooks of the slide-out bar.
- Locate your RV’s slide-out jamming lock and detach it.
- Get the desired height and remove any sagging by shifting your vertical adjustment up or down.
- After the sag has been fixed, attach the lock and fasten the bolts.
How to Level Your RV’s Slide Out
To level your RV’s slide-out, you will need these items: stabilizing jacks, wooden blocks, and slide out supports.
- Ensure your RV battery is fully charged. Most slide-out systems need 12 volts of DC electricity from the RV battery to work.
- Clear out the space. Close all drawers and cabinet doors. You may also want to remove all furniture and lose items from the area.
- Before proceeding, check outside to ensure you have adequate room for your extended slide-out. You don’t want to extend your RV’s slide out and hit a tree or another RV.
- Lower the leveling jacks. Doing this will level your RV before you extend the slide out. There are different leveling systems, and while some require you to push a button to lower the jacks, others need you to crank the jacks down.
- Install balancing or stabilizing jacks. This help to keep the RV level and prevent it from moving. Place wooden blocks under your stabilizing jacks if they are too short or the ground is soft.
- Your RV may have travel locking devices on the slide-out. Unlock these and extend the slide out by pushing the designated button.
How to Keep the Slide Out in Good Shape
To prevent the slide out from sagging, there are a few precautions you can take.
- Avoid overloading your slide-out by evenly distributing the weight applied to it. The downward pressure will eventually cause the slide-out to sag. A slide-out stabilizer will come in handy by keeping the sagging at bay. You may distribute additional items throughout the RV or store them in an attached trailer.
- Check your roller track regularly. Fix any noticeable sagging immediately before it gets worse.
- Examine your seals regularly. Replace damaged seals to avoid leaks along the walls of the slide-out. A drywall will see that the internal components of the slide-out remain dry and prevent cracking over time.
Conclusion
Although slide-outs are a great way to add extended space to your recreational vehicle, a sagging one can be quite bothersome. Fortunately, once the cause of the sag is identified, it’s easy to fix the problem and have a wonderful camping experience.
However, it is better to avoid the problem by taking preventive measures. There are several precautions you can take to avoid a sagging RV slide-out and some of them are listed above. You may also use additional slide-out supports to prevent sagging. Inspect the slide-out regularly and fix any problem immediately to prevent it from worsening.