Published Date: July 5, 2022
Last Updated on March 7, 2023 by Camper Front
An unstable RV can ruin what should be a relaxing trip. Not only will you find yourself stumbling around, but there will be further annoyances like your dishes and appliances rolling around and doors that refuse to stay put. Fridges can be affected if not kept level, and if your RV has a slide-out, it can be very dangerous to use if you’re not leveled out.
RV leveling blocks are required to sidestep these frustrations and are designed to keep your rig as level and stable as possible. Knowing how to level your RV is essential, especially when not every campground has level pads and most popular RV sites such as national park campsites seldom have even ground. In this article, we will help you understand the different types of RV blocks and provide you with step-by-step instructions on how to use them.
Table of Contents
What Are RV Leveling Blocks?
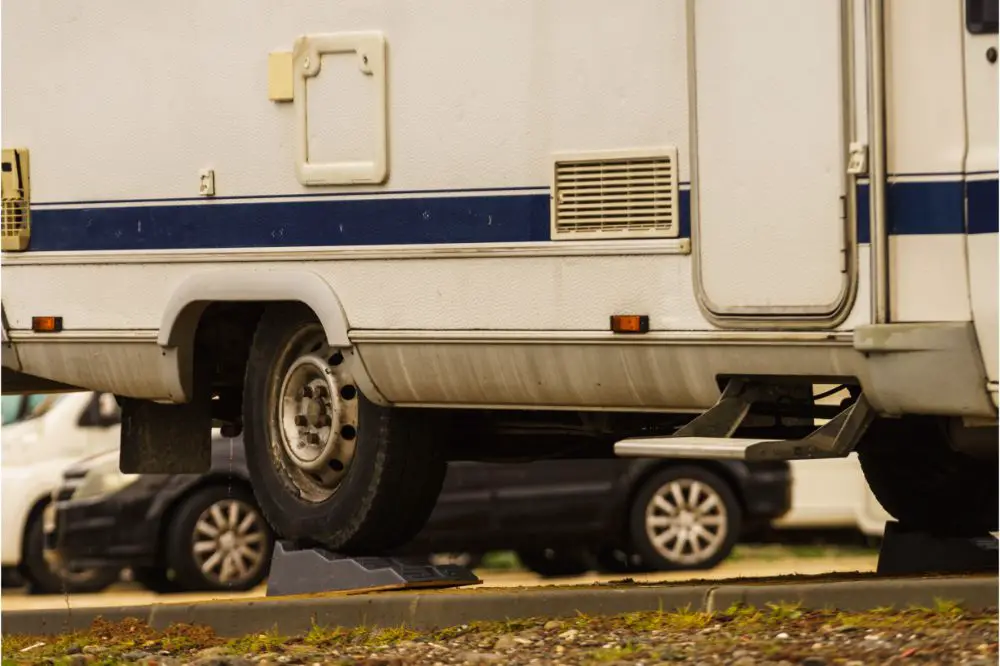
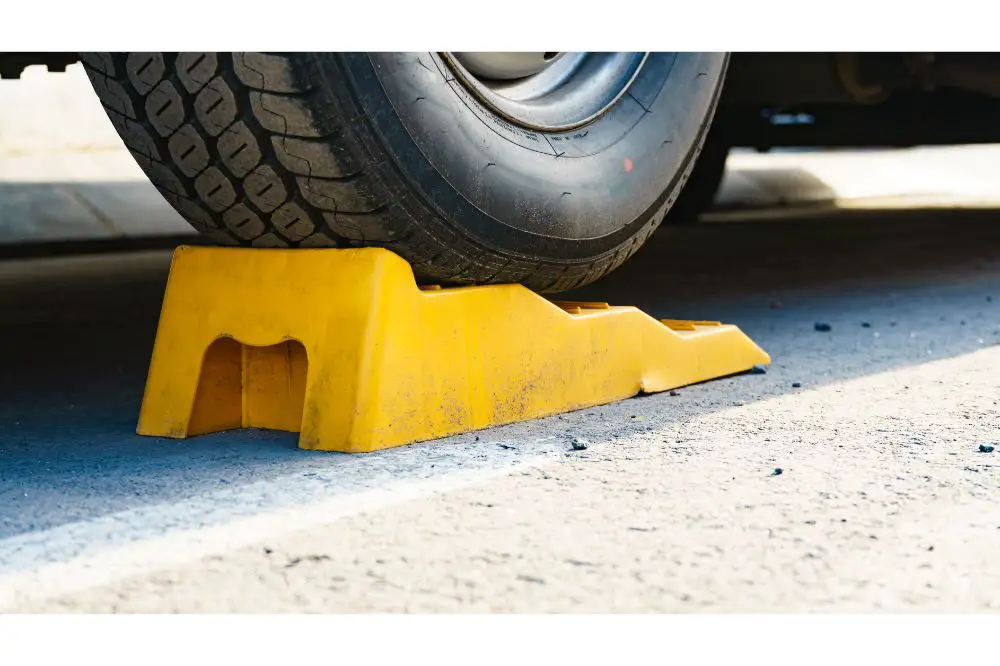
Let’s start with the basics. An RV leveling block is a small ramp designed for the rig’s tires to rest on for stability and to remain level. Generally made from plastic or wood block, these blocks are stackable and create a series of flat surfaces for the tire to park on.
Not all models of RVs include hydraulic levels or jacks; RV blocks will do the job just as adequately if secured correctly. Even if your RV does have other stabilizing equipment, it is still advisable to use RV leveling blocks for an additional layer of safety, especially if you’re out in the wilderness.
Common Types of RV Leveling Blocks
While there are many options for RV leveling blocks available, one should keep in mind that, like most products in the world, they all differ in quality and user-friendliness. For this reason, we’ve provided a brief overview of the most common and trusted types you can use to help decide which may best suit your needs.
Camco Heavy-Duty Leveling Blocks
Arguably the most popular leveling block brands, Camco plastic blocks are extremely easy to use. They are also very thin and light which makes them easily portable. Perhaps most importantly, they are available at an affordable price and come with a one-year warranty, which is why they are so widely used by RV and travel trailer owners. All you’ll need to do is stack the blocks to the height you require and back up onto them when they are in place.
Andersen 2-Pack Camper Leveler
Also known as Andersen hitches, these little ramp-like products are made to fit your tire like a glove. The one potential drawback of Andersen hitches is that they have a maximum weight capacity of 30,000 pounds which needs to be considered before purchasing them.
They also come with a lifetime warranty from Anderson, provided you purchase them from a reputable store or dealer. These levelers generally come in two pieces; all it requires you to do is back up onto the block and lock it in place with the second piece. It’s that easy.
Lynx Levelers
Another very frequently used leveling block is the Lynx leveler. They look similar to kids building blocks and work fairly similarly, too. These levelers have a popped-up circle on the top to help during wet weather and a back-ramp to prevent the tires from rolling off. Lynx levelers can withstand a weight of 40,000 pounds of weight and come with a 10-year warranty.
How to Use Leveling Blocks
Regardless of the leveling block you choose, the basics of using them are fairly standard. Mastering the process is relatively easy when you know the exact steps you will need to complete. Before jumping into the step-by-step explanation, it is worth mentioning that you should not attempt to use any other equipment as a substitute for RV leveling blocks, such as external stabilizers or scissor jacks. These can cause significant damage to the rig’s frame.
Step 1 – Check Your Surroundings
While this may seem obvious, it can quite easily be overlooked. Be sure to move any large rocks, branches, or other debris far away from your workspace and the area where your leveling blocks will be placed. Also, check your slideout and ensure it is fully closed before starting. It would be best if you also aimed to work on level ground since soft ground can affect the leveling function.
Important: At least one RV wheel must be on solid ground at all times. It does not make sense to lift the entire RV off the ground. Remember, blocks are used merely to bring all tires to a level height.
Step 2 – Position the RV
Now that the area is clear and you have an idea of where the RV will be leveled for the duration of the trip, it’s time to move the RV into position. Once you’ve reached the desired position, you can place a level on a flat surface of the RV to check which side needs to be leveled. The level reading will also give you a better indication of how unlevel the surface is; therefore, you will have an idea of how many blocks you may need to stack.
Step 3 – Align the Wheels and Place the Leveling Blocks
Now that you’ve identified the side that needs to be leveled, you should place a single block next to the tires. The block should be directly in line with the center of the tire and will, in essence, play as a marker for where to move the RV later. Once marked, you can move the RV forward slightly.
Step 4 – Readjust the Blocks
Next, you should align your blocks in the exact place you plan to put them in the RV. At this point, you can also stack the blocks according to the height required for the RV to remain level. Take additional care to ensure that the blocks are aligned correctly, as misaligned blocks risk the wheel falling off the block. This becomes more important and somewhat trickier if you have a tandem axle or dual axle trailer, in which case you will need to ensure that the blocks are aligned and stacked in the same way for both tires.
Step 5 – Back up the RV
You are almost done. You can now proceed to back your RV onto the blocks. If you’re not the most experienced RV driver yet, you may want to ask someone to assist you and let you know when to stop once you’re perfectly on the block. Once on the block, you can also double-check it by placing your level on the same surface again to see if the level’s bubble is now in a good position. Repeat the steps above if you’re not satisfied with the level.
Step 6 – Insert Wheel Chocks
Again, this is just an additional safety measure but is essential if your motorhome is a towable one. Chocks will further help prevent the vehicle from rolling and potentially causing damage to your own and anyone else’s property.
And that’s pretty much it. If your RV has additional stabilizing equipment such as a tongue jack or stabilizer jacks, these can also be deployed now. And voila, you’re leveled out and ready to enjoy your vacation.
Conclusion
RV leveling blocks are essential to ensure you can enjoy your vacation safely. An unstable RV or travel trailer can bring frustrations, damage, and even injury. These relatively inexpensive products come in a wide range of brands and styles and can be somewhat difficult to master using the first time around. But, by understanding how your chosen leveler works and following the steps above, you will be able to level your RV in no time.