Published Date: January 4, 2022
Last Updated on November 29, 2022 by
Learning how to winterize an RV is the best way to ensure it’s ready to use for any season of the year.
Like a house on wheels, winterizing is an essential part of RV maintenance that protects it in freezing temperatures.
Although it might seem intimidating at first, we’ve created a guide with easy-to-follow steps to help.
Table of Contents
Do I Need to Winterize My RV?
Generally speaking, winterizing your RV will remove water from the holding tanks, prepare the water heater, and manage other water-oriented systems.
There are also other steps that you’ll want to take with the RV’s exterior and interior components.
All of these items on your to-do list are essential to protect the integrity of your RV over the winter.
Not only will you want to consider winterizing if your RV is in storage, but you should also prepare if you want to take a winter trip.
The better you winterize, the less likely you’ll be to deal with blown lines from expanded water being left behind in your pipes.
Instead, following this guide’s steps can help save you from costly repairs.
When Is the Right Time to Winterize My RV?
Winterizing is essential when it’s going into storage, if temperatures drop, and if you’re visiting colder climates.
It’s imperative if you live in a warm climate and are visiting colder atmospheres.
Storing Your RV
Winterizing is something that every owner should consider if they’re putting their vehicle into storage.
With an RV, it’s even more essential because there are numerous water-consuming appliances onboard.
You’ll not only want to ensure your shower lines are clear but also the sink, washing machine, ice maker, and other luxuries.
When you leave your RV in storage, any stagnant water simply stays in the tanks.
Considering water is known to expand when frozen, it can cause significant damage to your grey, black, and clean water tanks.
Not to mention, it can also be problematic for your water lines, leading to costly repairs.
Below Freezing Temperatures
If you’re a homeowner, you know the importance of preparing your water lines for winter.
You most likely turn your home’s outdoor water off to prevent the pipes from bursting.
This same theory applies to your RV, as, again, water expands when frozen.
If you know that freezing temperatures are on the horizon, it’s best to begin winterizing early.
RVs are generally rugged and reliable, but one freeze could cause irreversible damage.
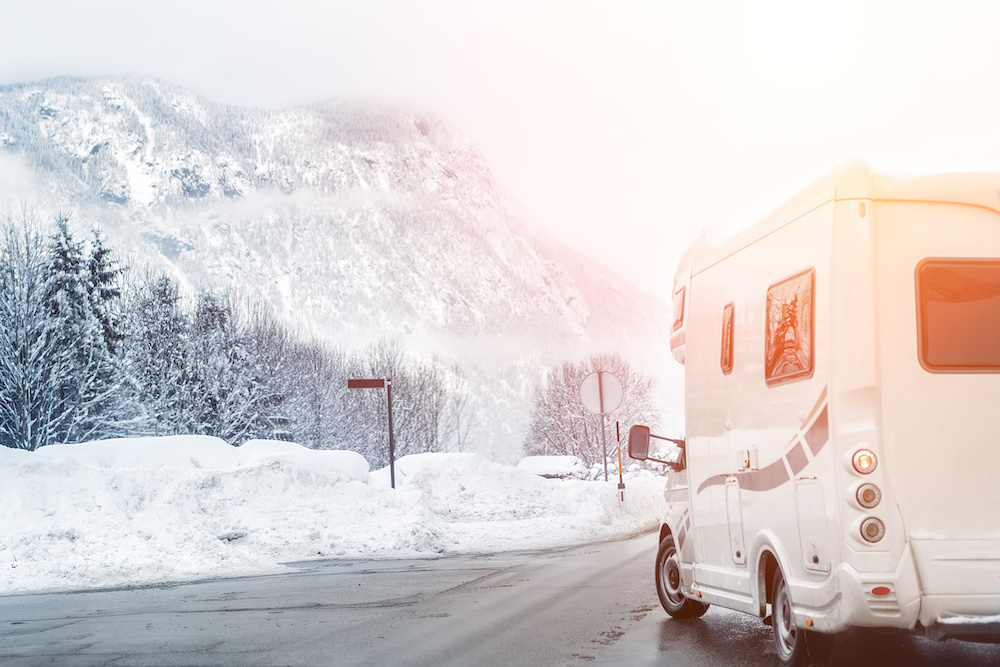
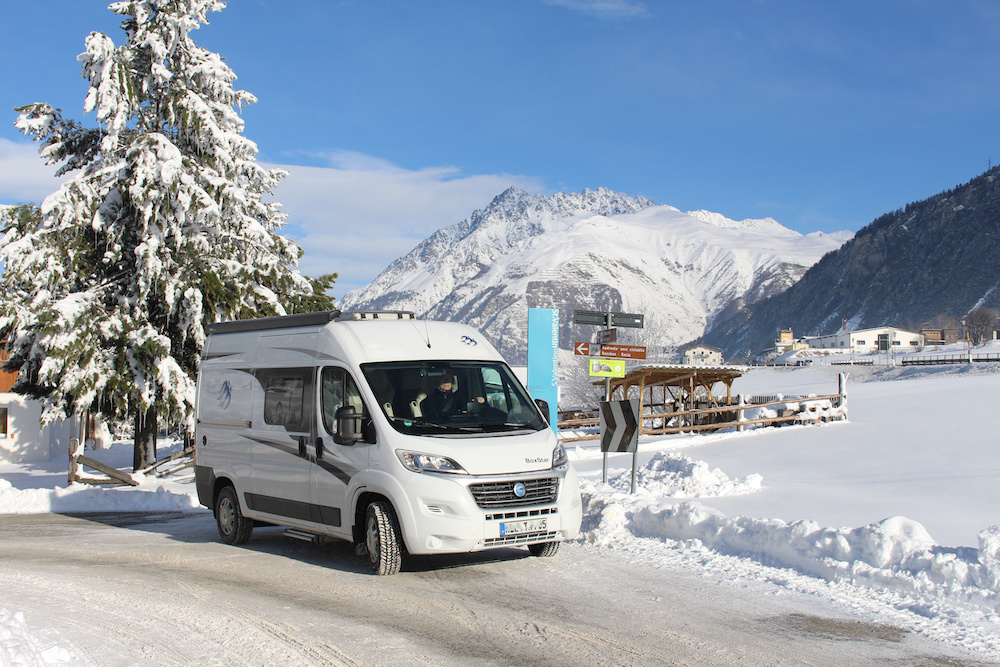
Visiting Cold Climates
Winterizing is also crucial if you intend to visit colder climates during your trip.
Although you may lose some of the luxuries you’re used to, such as washing clothes on the go, winterizing is vital.
Depending on where your trip takes you, always plan accordingly to ensure your camper stays warm when entering freezing temperatures.
How to Winterize an RV in Easy Steps
Now that you have a good idea of when to start winterizing, let’s get into the user-friendly steps to help you get started.
By using this checklist, you’ll be prepared to store or drive your RV to some of the coldest climates in the nation.
Step 1: Winterizing the Water Systems
By far, the most important part of your RV that needs winterizing is the water system.
Frozen and cracked pipes can cause considerable damage to the vehicle.
That said, you’ll need to take steps to ensure the water system is dry and secure.
Most RVs come with specific instructions for winterizing, depending on how the water systems are set up.
You should consult the specific directions for your vehicle to ensure nothing’s left behind.
However, we’ll go over some of the basics that most RV owners should consider.
- Turn off the water heater
First and foremost, make sure your water heater tank is turned off because we’ll be removing all water from your vehicle.
Leaving it on can cause damage and consumes unnecessary fuel and power.
Another critical aspect of working with the water heater is to make sure it’s clear of water before your pipes.
To do this, place a bucket or container under the low-point drain valves on your water heater.
Then, engage the pressure relief valve, ensuring all water pressure is released from the water heater.
This step will help eliminate any trapped water.
After clearing the water heater, take the time to engage the bypass valve.
Consider buying a water heater bypass kit if your RV is older and doesn’t have a bypass valve.
This step is essential for when we add gallons of antifreeze.
- Drain and flush the pipes
The most important part of winterizing your water systems is to drain and flush your pipes and tanks.
You’ll want to ensure your fresh, grey, and black water tanks have all been thoroughly sanitized, flushed, and dried.
The most critical part of this step is to ensure every trace of water is gone.
When you drain and flush your drain lines, remember to use a bucket or container to catch all of the water.
This step ensures that no liquid accidentally goes back into the holding tanks.
You’ll also want to turn the water pump on with your faucets open, ensuring all water is removed for both cold and hot.
Also, double-check every water-consuming appliance in your RV to ensure both the hot and cold settings are clear.
Repeat this same process for your shower, dishwasher, washing machine, shower, toilet, and other appliance or fixture that use water.
- Adding antifreeze to the water system
With all of the water out of your RV, it’s now time to begin adding antifreeze.
This chemical solution is specifically designed to prevent water from freezing in your pipes.
Ideally, you’ll want to find antifreeze specific for RVs rather than a brand used for cars.
Did you know the majority of modern RVs are already equipped with the necessary tools for winterizing?
For this, you’ll want to locate the siphon tube and water pump that comes with your integrated winterization kit.
Then, disconnect the water line that connects the fresh water tank and the rest of your water system.
Once this step is complete, use the same tube to add the RV antifreeze.
You then turn the water pump back on, ensuring the low point drain plug and valves are closed.
With the pump on, you should be able to see the antifreeze circling through the system.
- Continue cycling the antifreeze
The antifreeze must make its way through the entire water system in your RV.
For this, take the time to open the toilet, shower, faucet, and other appliance valves.
You should begin to see antifreeze flow through, signaling your system is prepared for the colder months.
- Adding extra antifreeze
The final step of using antifreeze in your RV involves protecting all of your P-traps.
These traps are often found in your sinks, toilet, and shower.
Take any remaining antifreeze and pour it into your appliances, approximately 1/2 cup per appliance.
Step 2: Removing the Batteries
There’s no doubt that freezing temperatures wreak havoc on your RV’s water lines, but it can also be damaging to your batteries.
The next step to winterization is to make sure all batteries are removed from the vehicle and stored in a dry location.
You’ll want to ensure you turn off the breaker switches and disconnect any batteries.
When removing the batteries, always remove the negative cable first and ensure both terminals are marked for easy re-installation.
Store all of your fully charged batteries in a room temperature spot without any moisture.
Also, don’t keep the batteries directly on concrete, as this will drain them by the end of the winter months.
Step 3: Protecting the Exterior
The interior components of your RV are undoubtedly important, but you should also protect the exterior.
These steps are significant if you’re storing your RV at a storage facility for the off-season.
One of the top recommendations is to apply an extra layer of protectant or wax to the vehicle’s exterior.
This extra layer will help protect the RV paint against the elements.
You can also check for any cracks or exterior damage at this point, ensuring your RV is ready to go for the next camping season.
Another massive part of exterior winterizing is to protect any awnings on the vehicle.
Of course, it would be best if you could remove the awning, preventing it from catching snow.
Alternatively, roll the awning all the way up and put a cover over it, if possible.
These steps can also help prevent any mold or mildew from melted snow and rain when at a storage facility.
Step 4: Regularly Check the RV
It’s important to remember that although you’ve winterized your vehicle, it still needs to be checked during the off-season.
Regularly visiting your stored camper can help you decide if it needs tidying from any left behind dirt.
Also, it can help you decide whether a dehumidifier is necessary to prevent mold build-up.
Other things to check include the parking brake, cold faucets, hot faucets, gray tanks, black tanks, and the water heater’s heating element.
By making a checklist of essentials, you can maintain your RV when stored.
Winterizing an RV
After learning how to winterize an RV, it’s easy to see the water system is one of the most important factors to consider.
Whether you intend to leave your vehicle stored or if you’re visiting cold climates, always ensure your pipes and tanks are clear.
From there, you can guarantee you’ll face fewer repairs and concerns once RV season is in full swing again.