Published Date: January 4, 2022
Last Updated on June 22, 2023 by
Understanding what is grey water in an RV is one of the first things to learn before traveling in your camper.
With two separate waste tanks, knowing what to do with each can make all the difference in your trips.
In this guide, we’ll explore grey water and where it’s stored to help you prepare for your upcoming trip.
Table of Contents
What Is Grey Water in an RV?
When looking to travel in a recreational vehicle, you’ve likely heard of black and grey water.
Both are considerably different, with grey water being less of a hassle to work with.
Your grey water is the collection of water that you’ll use in your RV. It’s typically used for showers, cleaning dishes, washing clothes, and other water activities.
However, it is not the same water you use to flush your toilet.
Although your grey water isn’t a biohazard as your black water, it still needs to be maintained throughout your trip.
You might find that depending on the type of RV you have, you could have separate or combination of black and grey water tanks.
Combination tanks are often used to reduce plumbing and manufacturing costs.
The problem is, it can take up more space in your RV and can lead to future problems.
How Do I Keep My Grey Water Tank Clean?
One of the most significant advantages of grey water in your RV is that it’s not going to smell as bad as black water.
At the most, it could smell like old food particles and soap, as that’s likely all that’s in it.
That said, it’s still important that you keep it clean to prevent buildup over time.
If you notice your grey water tank has an unappealing odor, there are plenty of treatment chemicals you can use.
Of course, you won’t want to use something as powerful as the chemicals for black water tanks.
However, grey tank-specific cleaners can be incredibly beneficial.
Let’s go over the steps to take to clean out your grey water tank regularly.
Step 1: Flush the Tank
The first thing you’ll want to do is flush your tank just as you would with your black water.
We recommend draining this tank after your black tank. You can use the stored soapy water to flush the sewer hose from your waste.
When flushing, it can be a good idea to fill the tank before you let it dump.
The fuller the holding tank is, the more it will drain and push any grime out of the sewer hose.
Step 2: Get Rid of Any Clogs
When you start to flush your tanks, you’ll easily notice any clogs causing them not to drain as effortlessly.
If you encounter this issue, you must snake the drain to clean the pipes.
As an alternative, use a degreasing cleaner, such as dish soap, and hot water to help break up any debris.
Step 3: Clean the Tank Interior
After flushing your tank and removing any clogged debris, it’s time to add your cleaner of choice.
Liquid treatments and drop-in cleaning pouches are two popular options for RV owners.
With either, the chemicals sit inside the tank and break down bacteria buildup.
Apply the cleaner and give it time to work before flushing the tank a second time.
By now, any smells should be eliminated, and your grey water tank should be good to go.
Should I Dump My Grey Water Often?
Like your black water tank, you will have to keep an eye on how full your grey tank is while traveling.
As you wash dishes, cook food, or even shower, the tank is bound to fill.
For first-time RV owners, it can be challenging to know when the optimal time is for dumping.
The main thing to consider is the size of the grey waste tank you have installed in your RV.
If it’s larger, you will be able to go longer without needing a dump station.
On the other hand, be prepared to make more frequent stops if it’s smaller.
In most instances, RVs can benefit from a thorough cleaning every two to three tank dumps.
This number could increase or decrease based on how often you use your onboard water.
Alternatively, you could be one of the lucky RV owners with integrated tank sensors.
An onboard monitor gives you alerts when your grey and black water tanks reach their limit.
This technology makes it significantly easier to know when to visit a dumping station.
How to Dump Grey Water Tank Waste
The next step that every RV owner needs to know is how to dump their grey water tank.
Fortunately, it’s relatively simple, but you should always prepare to make a little mess with your first try.
Since it’s ideal you dump your black and grey water simultaneously, we’ll go through the steps for both.
Step 1: Dump the Black Water
As mentioned, dumping your black water first is ideal for your sewer hose.
After getting rid of the waste, you can then use soapy grey water to clean the hose without a water hookup.
The number one rule for managing human waste is to ensure you wear gloves, as it could get messy.
When dumping your black water, you’ll want to connect your sewer hose to the sewer outlet on the black water tank.
Ensure all connections are secure and then affix the other end of the hose to the in-ground sewer connection.
Open the black water valve when fully secured, allowing the tank to flush itself.
Step 2: Dump the Grey Water
Now that your black water tank is empty, it’s time to work with your grey water.
Most RVs are designed to have one outlet for your hose to connect to.
You have to alternate the flushing valves based on what tank needs to be emptied.
Step 3: Open the Grey Water Valve
With your sewer hose still attached, close your black water tank valve and open the grey water tank valve.
This step will allow all stored water to rush through the hose, clearing away any waste into the dump.
Step 4: Flush Your Tanks
At this point, both of your tanks should be empty, and you can now flush them for extra cleaning.
Close both of the valves and fill your tanks with fresh water, draining them a second time.
Step 5: Disconnect and Store Your Hose
After cleaning both your grey and black water tanks, simply close the valves and begin disconnecting your hose from the outlet.
Ensure there isn’t any extra water trapped in the hose before storing it in your RV.
You may also need a quick cleanup around the sewer if you experience any spills.
Step 6: Add Any Treatments
It can be beneficial to add treatments to your tanks after emptying them to prolong their lifespan.
Remember to add any additional treatments before getting back on the road.
What Are the Other Holding Tanks on an RV?
By now, you should have a clear idea of what grey water is and know the steps for keeping this specific tank maintained.
That said, your grey water tank isn’t the only place fluids are stored in your RV.
Let’s take a look at your fresh and black water tanks, as well as how to keep them in tip-top shape.
Fresh Water Tank
As its name suggests, your fresh water tank is where you store all of the clean water for your trip.
By far, it’s the least intimidating of the three tanks because it doesn’t include any type of waste and requires minimal maintenance.
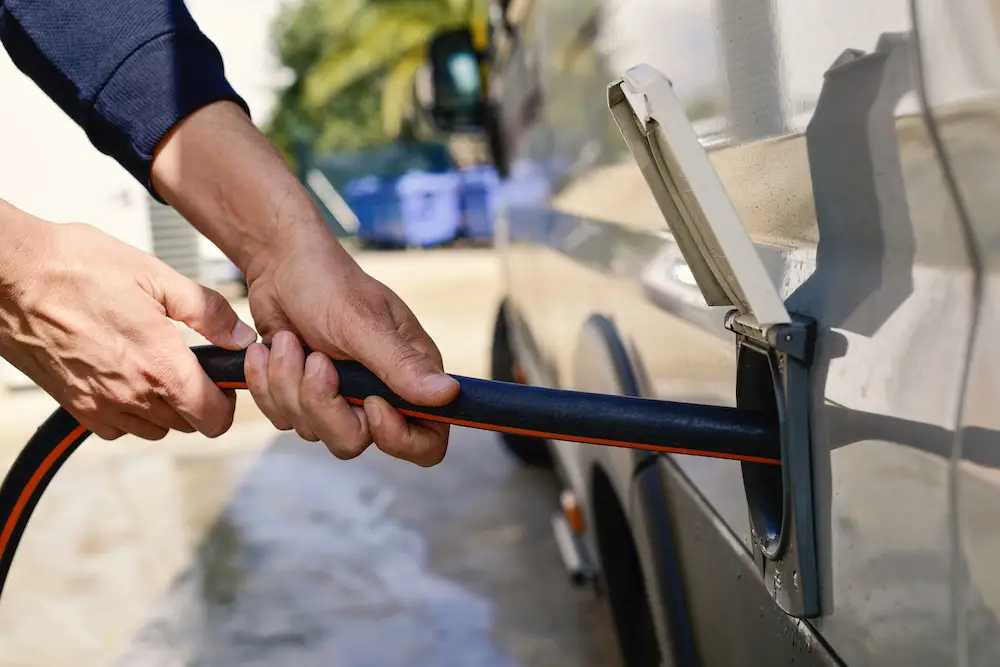
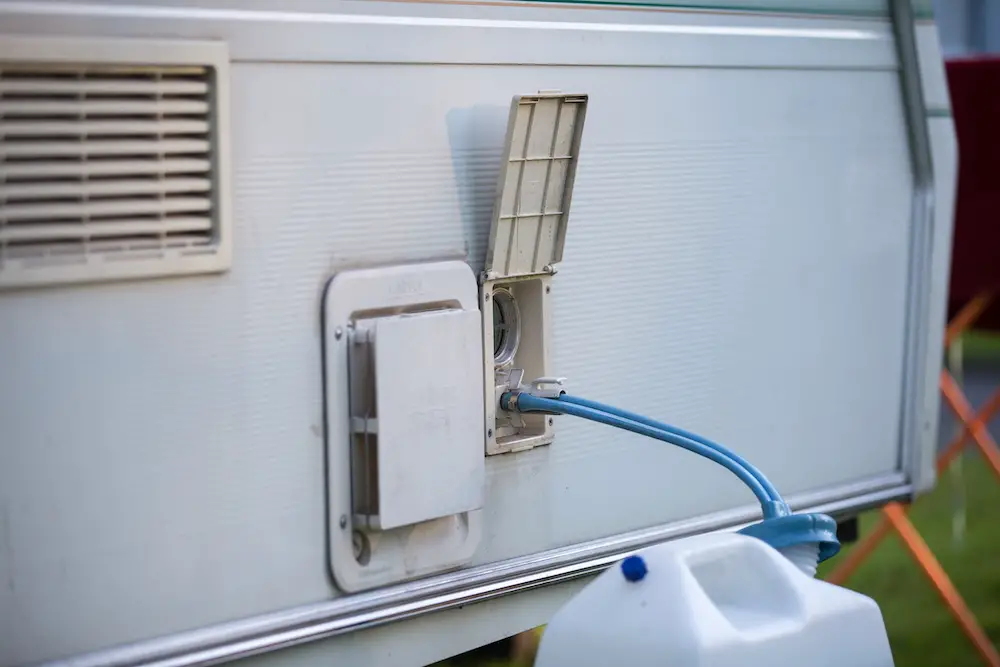
You can quickly fill fresh water tanks at dumps or campsites using the white water hose, which contains potable water.
The most important thing to consider with a freshwater tank is to protect it against changing temperatures.
Freezing temperatures can cause the water hose to freeze, while extreme heat can cause water to go stagnant.
It’s also important to remember to sanitize your fresh water tank after every trip.
If you notice your water stinks, all you need is a little bit of bleach for quick sanitation.
To do this, mix 1/4 cup of bleach per 15 gallons of water and flush your tank thoroughly with the solution.
Continue rinsing until the bleach smell is gone before refilling it with potable water.
Black Water Tank
By far, the scariest tank is the black water tank where you store all of your waste.
It’s often the most dreaded part of maintaining an RV, especially for long-distance trips.
However, there are a couple of fantastic tips to keep in mind to keep maintenance as easy as possible.
Firstly, you’ll want to make sure you flush your toilets regularly, adding water to the toilet bowl to encourage quick flushes.
Another trick is using single-ply toilet paper, which is less likely to cause clogs.
When cleaning, ensure you sanitize your black water tank using specialized black water tank chemicals.
Knowing Your RV
If you’re wondering what is grey water in an RV, it’s your everyday water.
Outside of flushing your toilet, wastewater is collected from the shower, the bathroom sink, the kitchen sink, and the washing machine.
Fortunately, it’s an easy tank to take care of and keep clean with the help of this guide.