Published Date: July 24, 2020
Last Updated on June 22, 2023 by
Spending some wonderful time in the snow-frosted mountains and icy lakes during winter can be enticing and dreamy, but for everything comes a cost.
Living outdoors during winter can be very challenging and most times, it outweighs the beauty of the whole trip, ruining it all, but luckily there’s a solution to that.
In this article, you’re going to learn how to winterize a 5th wheel for winter living. This will allow you to heat your camper and prevent the freezing effects of the weather on you so that you can enjoy your trip.
Let’s get started!
Table of Contents
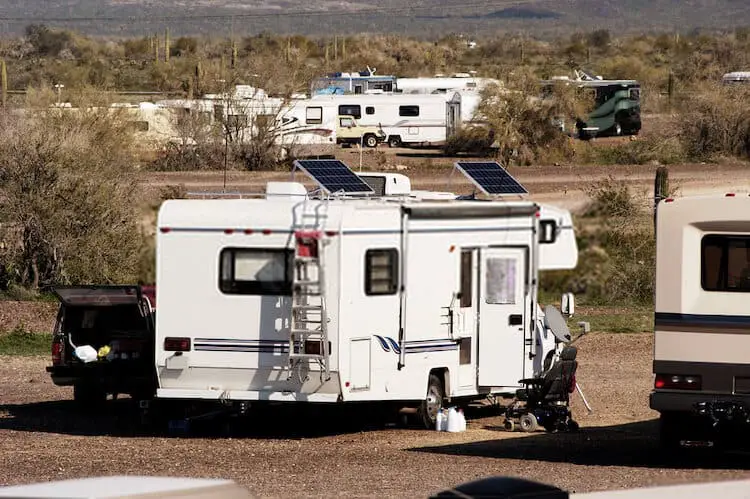
Preparing Your Vehicle For Winter Living
Firstly, winterizing a 5th Wheel (what is commonly known as an RV) is a simple process of emptying your water pipes and holding tanks and then filling them with antifreeze.
This helps to prevent leaks or cracks that can be caused by frozen water, which could cause considerable damage to your vehicle’s plumbing.
Here are a few ways to prepare your vehicle for winter living before finally winterizing your RV.
Air Seal And Insulate
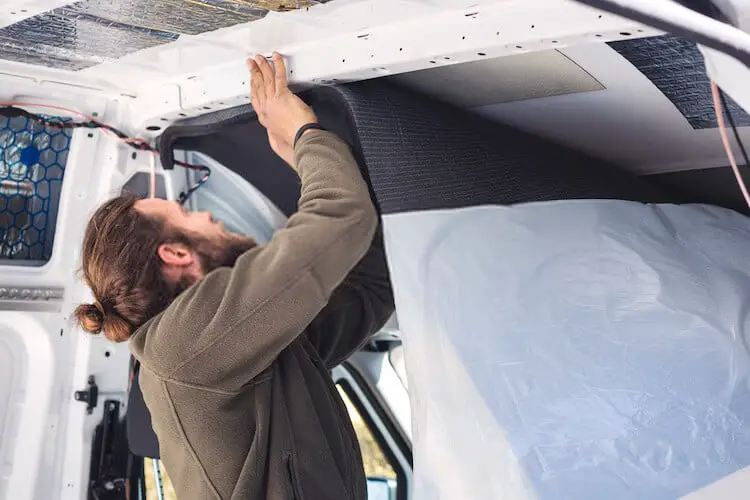
To prevent heat loss from the sides of your door frame, you need to line them with a blanket or piece of insulating fabric to form a full-length curtain; you can also add weather-stripping around the door frame.
You want to do the same for the windows, instead of decorative curtains, you want to make use of heavy thermal curtains and seal them unto the wall with velcro or other types of fasteners to reduce air drafts.
If your RV has a double or triple-pane window, you don’t need to go through this process. If not, you can install thick plastic films on the outside of your RV window, and this slows heat transfer and reduces condensation.
You also want to totally cover any window not being used for light with rigid foam insulation to further reduce cold air infiltration.
For your plumbing and electrical opening, you also want to seal any open areas surrounding them; for small areas, you can use caulk, and for larger areas, you can make use of expanding foam insulation.
But you have to use this with caution because, as the name implies, expanding foams can expand and cause damage to some areas.
Your slide-outs should also be a major area of concern because when snow accumulates on the top, the heat from inside the RV melts the bottom layer of the snow, which creates an ice dam.
In order to prevent that, you want to remove snow from the slide-out regularly. You can also use rigid insulation, which is sealed to the RV’s body, but make sure to angle the insulation properly to allow water to drain away from the slide out and RV.
Additionally, you may need to insulate your ceiling vents to allow proper ventilation. This will ensure that humid inside air is promptly replaced with drier outside air. Still, you need to make use of a seal that can be easily removed and replaced.
Luckily, there are factory-made vent plugs and rigid insulation cut to the size of the opening and wrapped with duct tape that can do the job right.
Skirting
This is an essential process for making your RV winter-ready, the skirt is used to protect the underbelly of your RV from freezing. Skirting is made of different materials, but vinyl skirting is mostly used.
Skirting your RV helps to aid your winterization process, it reduces internal heat loss — and also helps during strong winds to reduce the wind rocking. Insulating your RV with a skirt will help to keep the inside floor warm.
For added efficiency, it is recommended to bury the skirting a few inches into the ground as this helps to add stability and reduces airflow.
When installing your skirting, you want to securely attach it to your RV with heavy-duty velcro; this way, it is easy to remove.
But you also have to apply some precautionary measures when making use of skirting, because rodents are likely to be attracted to the warm dark area created by the skirting. To prevent that from happening, you need to apply some rodent control measures.
How to Winterize a 5th Wheel for Winter Living
Many people don’t enjoy the idea of fully winterizing an RV because by doing so, it makes it impossible to make use of your RV’s plumbing and water system.
But if you are going to put your RV into storage, it is advised you winterize, and it can be done in two ways; you can run an RV antifreeze through the entire plumbing system.
You don’t have to worry about toxicity because they are non-toxic. The downside to this process is that most users complain of being able to taste the residue of the RV antifreeze even after dumping it for a long while. And most alcohol-based antifreeze tends to dry out and cause damage to your plumbing over time.
The other winterizing option involves using compressed air from an RV blowout plug to blow out your RV’s water pipes to make them nice and dry, which helps to prevent freeze damage.
That said, let’s now look at how to winterize a 5th wheel for winter living:
Using An RV Antifreeze
You are going to need up to 2-3 gallons of antifreeze for a complete winterization process and up to 10 gallons in the absence of a water heater bypass.
So you want to make sure to buy a bypass kit that matches the size of your water heater as it saves you lots of costs on antifreeze.
Once you have gotten your antifreeze and bypass kit, you need to locate your water heater and water pump on the outside of your RV, then plug the drain plug to empty the hot water tank.
Always make sure to release the pressure ring while draining, and also make sure to turn off every electrical component of the water heater before draining.
This is because keeping your camper plugged in will cause the electric element to attempt to heat an empty water tank, which could be hazardous.
The next thing you want to do is remove the water anode rod and inspect it for corrosion. This rod keeps your water heater from rusting, so it needs to be checked consistently and replaced when necessary, as this will help to extend the life of your water heater.
Next, locate your hot water heater bypass and open the valve; it should be empty. Close the valve, and the system is now routed to bypass your water heater tank.
For your water filtration system, remove the cover, then remove the filter and replace the cap. Keep a towel handy for discharge, and you may need a tool to help you remove the cover as it may be too tight to remove with just your hands.
To circulate the antifreeze, you need a hose to connect it to the antifreeze inlet. Do not connect it to the city-water connector or blank tank.
Close all faucets and valves then turn on the water pump and slowly open the faucets and valves closest to the pump, this will drain the remaining water from the line, and the antifreeze will begin flowing from the faucets.
Make sure to open the hot and cold valves individually, and once you see the antifreeze, close the valve. Continue to repeat this process with every valve and replace the antifreeze supply once it finishes.
For your toilets, you need to keep flushing till the antifreeze appears and apply the same process with the shower. Next, locate your city-water connector then use a screwdriver to open the valve on the outside of your RV, and keep it open till you are able to see the antifreeze.
You also want to drain your black and grey tanks to allow the antifreeze to run into them because these tanks have a p-trap leading into them, and they have water in them; failure to run the antifreeze through the trap could cause a big mess.
For household appliances like refrigerators, dishwashers, and ice machines, you need to turn them on until you have antifreeze through the line.
You want to flush any appliance with a water line and fill it with RV antifreeze to adequately secure them.
Conclusion
Traveling during the cold weather can be mesmerizing and a beautiful sight to behold. There is nothing quite like being in the solitude of a winter campsite, watching the snowfall, and blanket the land around you.
But to enable a hitch-free adventure, you need to Make sure you follow the tips and process we’ve discussed here.
It’s also worth noting that not all vehicles are created the same; this is a general guide that should help if you have never known how to winterize a 5th wheel for winter living.
But notwithstanding, always consult your owner’s manual for steps and instructions that are specific to your vehicle’s make and model.