Published Date: December 29, 2020
Last Updated on June 22, 2023 by
So you’ve concluded your camping trip and are ready to winterize your RV to endure the winter months and lack of use while in storage.
Sadly, even after draining your RV tanks, you will still find little water in the plumbing lines. And this water can cause significant damage to your pipes if it is left alone to freeze and expand.
Today, we’ll be comparing the two primary methods of winterizing a camper: Blowing out RV water lines vs antifreeze.
After comparing both methods, we’ll also walk you through how to winterize an RV with an air compressor and how to winterize with antifreeze.
Let’s get started!
Table of Contents
Blowing Out RV Water Lines Vs Antifreeze
Regardless of who you ask for the best way of winterizing an RV between blowing out RV water lines vs antifreeze, you’ll get answers with a good rationale for and against the two methods.
But personally, I think you should winterize with an air compressor (blowing out RV water lines) “IF” you can blow out all the water. If you’re able to achieve that, then you’re a winner – and if not, you’ll likely find damages when you de-winterize the next year.
The same thing is also applicable to using antifreeze. Therefore, it all comes down to your ability to get all the water out of your plumbing line and/or replace it with antifreeze.
Should You Use Air Compressor or Antifreeze?

Which method you choose to use boils down to personal preference. Some RVers prefer to use an air compressor due to the lingering smell of antifreeze.
Others still prefer the antifreeze winterization method because of their ability to see the pink in the lines and ensure they’re protected.
Interestingly, some campers even use the two methods to get guaranteed peace of mind. Check the recommendation in your owner’s manual as to which one is best for you.
Let’s now look at how to carry out both methods of winterizing a camper to better understand how they work.
NOTE: The guidelines below are applicable to the majority of campers out there but cannot address every specific RV year, model, and make. Therefore, we still suggest you check your operator’s manual for your own RV’s specific instructions.
How to Winterize RV Using Air Compressor
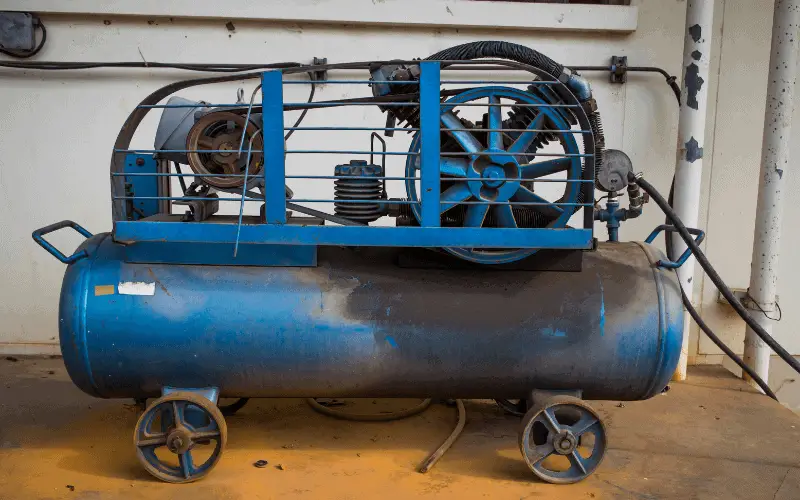
Blowing out RV water lines with an air compressor is a popular winterization method because it ensures no water is left after the process to avoid freezing.
The process involves draining your camper off as much water as you can and then blowing out whatever vestiges of water remain in the plumbing line using an air compressor.
You will need an air compressor and a blow-out plug for this method. Below is the step-by-step process of winterizing your RV with an air compressor.
Step 1: Drain Your Fresh Water Tank
The first step is to drain the fresh water tank, removing every water left inside it. You can leave the valve open for now so air can enter, which will help dry the water.
Remember to also disconnect your city water connection if it’s still connected.
Step 2: Drain and Bypass the Water Heater
Remove your water heater’s plug and drain it if you haven’t done so. Avoid draining the water heater while it’s still hot or under pressure.
When you’re done with that, the next step will be to bypass your water heater. The majority of RV campers out there today feature built-in bypass systems, which you will simply flip a switch or lever to control.
However, if your own RV doesn’t come with an integrated bypass system, the best option will be to install a water heater bypass kit. If you don’t know whether you have a bypass in your RV or where it is, consult your operator’s manual for guidelines.
Step 3: Open the Valves to Drain More Water
Water may still be in your system, even after draining your fresh water tank. So, you will want to walk through your camper and open all the faucets (cold & hot) in your bathroom and kitchen sinks, and leave them open until every water remaining inside runs out.
Flush the toilet, and turn on both your indoor and outdoor shower (if you have one). The goal is to drain the lines as dry as possible before coming in with the air compressor.
Step 4: Attach the Blowout Plug and Pump in the Air
Now, attach the blowout plug to the water connection of your city, and set the air compressor to 25-30 PSI. As you’re pumping air into the RV, every water remaining in your plumbing lines will be flushed out via the open valves in your RV.
NOTE: You want to ensure that at least one valve is always left open before blowing in the air. For example, your kitchen faucet should be on during this process. The air must have a release point; else, it will spoil your plumbing lines.
Every valve in the RV can be left open, but we suggest you move through the camper and open each valve one after the other to give the compressor a chance to pump air via the lines.
Furthermore, ensure to do this for the indoor shower, kitchen sink, outdoor shower, and bathroom sink. Then wait for all the water from each open valve to drain.
When you’ve completed this process, close the fresh water tank valve and then disconnect the blowout plug – and that is about winterizing your RV with an air compressor.
Let’s now look at how to do the same with antifreeze.
>> Read Also: Will RV Antifreeze Melt Ice?
Winterizing Your RV Using Antifreeze
The second method of winterizing your RV is by using antifreeze, as we mentioned earlier. This can be done as the next step after blowing out your water lines. You can also do this step alone; it all depends on what you want.
You will need RV antifreeze and siphon hose (if your RV doesn’t include one) for this method.
Let’s get started!
Step 1: Drain your Fresh Water Tank
When you’re winterizing your camper with an air compressor and wish to also add antifreeze, go ahead and move to Step 2. But if you will only use antifreeze, you’ll be required to start afresh by draining your fresh water tank.
You also want to remove or bypass any inline water filters in the RV (your water filter should be replaced each year, though, but if you have no plan of replacing it, it’s essential to remove it so the antifreeze won’t damage).
When you’re done draining your fresh water tank, follow Step 2 above (on the air compressor winterization method) to drain and bypass your water heater.
Step 2: Pump Antifreeze into your Water Lines
Before we proceed to this step, it’s worth mentioning that some RV antifreeze requires you to dilute them with water before use. If this is the type you’re using, start by mixing the correct water/antifreeze solution first.
To put antifreeze in your RV, the first step is to find your water pump (consult your operator’s manual if you don’t know where it’s located). Many campers out there today feature a siphon hose connected to the pump for drawing antifreeze into the water lines.
The siphon hose valve will be usually closed, and the freshwater valve is usually left open. To winterize the RV, open the siphon hose and close the freshwater valve.
This way, the siphon hose will be able to pull water from the antifreeze bottles the moment your water pump is turned on. It will also prevent your freshwater hose from drawing water from the freshwater tank.
Once the siphon valve is open, the hose is inside your antifreeze bottle, and the RV fresh water valve is closed, the next step is to switch on the water pump.
If you don’t have an inbuilt siphon, you can install a siphon hose yourself; it’s easy and affordable. You can also pump antifreeze into your city water inlet using a hand pump as an alternative means.
Step 4: Open Your Valves Until You Can See Antifreeze
The general rule of thumb in RV is to “never let the water run.” But there’s an exception here. Back inside the camper, open all your faucets in turns (one by one), and leave them open until the water runs pink. When that is achieved in each faucet, close it and proceed to the next one.
(If you’ve already winterized with an air compressor, there won’t be any water remaining in your system; therefore, you just have to wait until the antifreeze starts flowing).
Ensure that both the cold and hot faucets for your bathroom and kitchen sinks are open. You also want to turn on both your indoor and outdoor shower (if there is one) and flush the toilet too.
Some people suggest that you start with the highest drain and work your way down to the lowest. Alternatively, you can also start from the drain closest to the water pump – and then move farther away from there.
There will be two low-point hoses under your water pump that you will also need to drain. To do this, crawl under the RV and open all the valves until you smell or see the antifreeze dripping out.
For this step, having someone outside the camper watching the antifreeze bottles will help a lot. They can sometimes run pretty quickly, so having someone immediately switch the siphon hose into a new bottle when one runs out is essential.
When you’re done, turn off your water pump.
Step 5: Pour Some Antifreeze into your P-Traps
The last step is to pour some antifreeze into your shower and the P-traps of your sinks.
Tuck the siphon hose inside the storage compartment of your RV with your water pump. Then, shut the siphon valve off and turn on your freshwater valve again for next year.
You want to ensure that your water pump is turned off and remove the screen attached to your city’s water hookup. The check valve is in the center. Push the valve until water starts coming out and you see antifreeze.
You should see the pink antifreeze inside your camper water lines.
>>> Read Also: Can RV Antifreeze Thaw Frozen Pipes?
Frequently Asked Questions
Is RV antifreeze different?
Yes, and you should endeavor to use only RV-specific antifreeze to winterize your camper’s plumbing system. The color is bright pink, and you can easily buy it from Amazon, your local dealer, or an RV supply store.
Is RV antifreeze toxic?
No, RV antifreeze is not toxic, and you can safely use it in freshwater plumbing. However, you should never use automotive antifreeze in your RV plumbing lines. It’s formulated with ethylene glycol and can be very deadly if ingested.
How much antifreeze do I need?
The majority of campers out there need about 2-3 gallons of antifreeze. But you should generally estimate about 2 bottles of antifreeze for rigs under 18′ long, 3 bottles of antifreeze for rigs 18-30′ long, and 4 bottles for rigs over 30′ long.
Conclusion | Winterizing RV With Air Compressor Vs Antifreeze
Hopefully, you now know the difference between blowing out RV water lines and antifreeze. As we mentioned earlier, the one you choose to use will totally depend on your choice.
They’re both effective, and whichever one you use, the goal should be to drain as much water as possible from your plumbing lines.
You can also decide to use both the air compressor and antifreeze method of winterization, as most RVers do.