Published Date: October 17, 2020
Last Updated on June 22, 2023 by
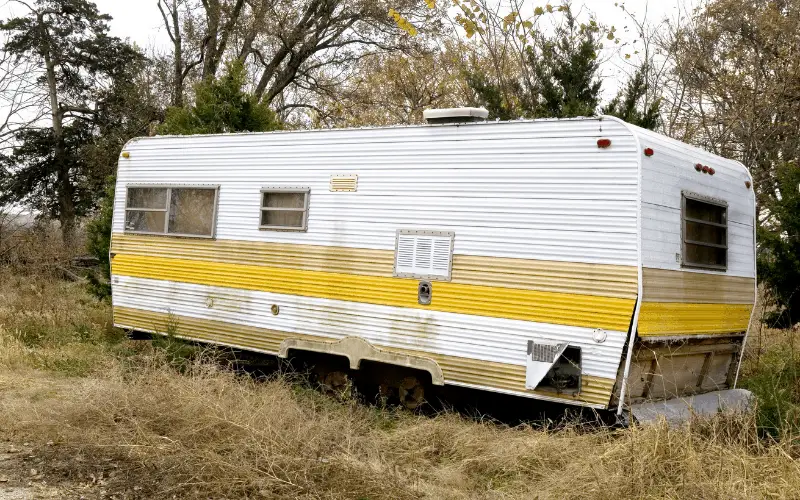
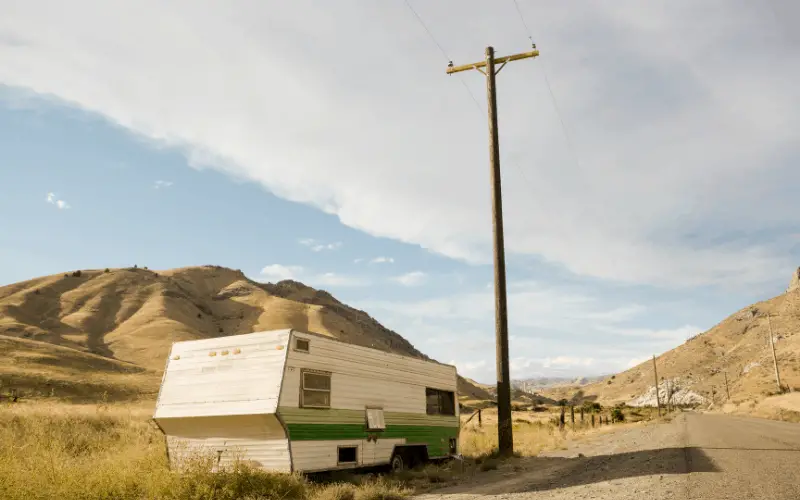
A fiberglass RV can be very pretty and shiny, but when oxidation takes its course, the beauty factor will be lost. In some extreme cases of oxidation, the fiberglass can become chalky, cloudy, or even yellowish in color.
This can totally destroy the looks of your RV, making it look dilapidated and old. Thankfully the remedy to this problem is not that difficult and needs just a little bit of elbow grease.
Today, we will show you how to remove oxidation from RV fiberglass. Let’s get started!
Table of Contents
How To Remove Oxidation From RV Fiberglass
Before we get into the whole RV oxidation removal process, let’s talk about the causes of oxidation, this will give you a better understanding of the whole process.
Causes Of Fiberglass Oxidation in RV
To give an RV fiberglass a smooth and shiny finish, it is coated with translucent or colored gel raisin material, and to protect the gel coat, a layer of wax is applied all over.
Even with all that layer of protection, the gel coat can begin to fade when it is exposed to oxygen in the air. Several other factors, like excessive heat, direct sunlight, air pollutants, and too much moisture, can lead to oxidation.
The application of an extra layer of wax to the gel coat will only offer temporary protection from oxidation and will require constant reapplication.
With all that said, the removal process might start to seem a little bit complicated and stressful, but it isn’t. With the right application and patience, you will be able to remove oxidation from your RV fiberglass, and here are two ways to go about it.
How to Remove Mild Fiberglass Oxidation
Removing mild fiberglass oxidation is the least difficult part of this removal process; you can easily make use of a degreasing agent to remove mild oxidation.
When an RV’s fiberglass begins to oxidize and turns chalky, dust starts to stick to its surface, and This can result in the formation of grease on the fiberglass. So using a degreaser will help to nip the problem in the bud.
You want to make it a routine to wash your camper regularly with a degreaser. To do this, simply apply a generous amount of degreaser to a clean cloth or towel and start applying it on the surface of the RV.
Depending on the degreasing solution you are using, it may or may not be recommended to allow the degreaser to sit for a period of time, follow the instructions and thoroughly rinse off the product from the fiberglass surface if you spot any areas still with grease, you can repeat the application process on that area.
Next, you want to apply an oxidation remover, not to the entire RV exterior but to areas with fiberglass. To apply this product to the fiberglass, you will need a polishing pad or electric buffer; using a polishing tool will help impart a better shine to the fiberglass.
After applying the oxidation remover, you want to wait until it is completely dried, then use a clean towel or microfiber cloth to lightly rub the areas.
After that, the next line of action will be to apply a polishing substance. This helps to further enhance the shiny look of the RV.
It will not only make the glasses look glossy but also smooth out the surface by further peeling of oxidation, worn-out paint, and filling out stains and scratches; for this application, you will need power or a manual buffer.
The last but not least step for removing mild oxidation from fiberglass will be to apply a layer of wax to the treated areas so that the effects of outdoor elements will be reduced.
How to Remove Extreme RV Fiberglass Oxidation
As the name implies, removing extreme oxidation is not a walk in the park. Extreme fiberglass oxidation, which has been caused by poor maintenance or RV aging, is quite difficult to remove.
Even professional products aren’t always able to deal with severe oxidation and make the fiberglass surface look like new.
But as they say, “never say never,” with a little bit of elbow grease and some great product, you can get your RV to look way better than it is with extreme oxidation.
One of the most recommended methods of removing extreme oxidation is by wet sanding. This basically removes the top layers of coating that have experienced oxidation.
Wet sanding has to be a last resort and should be done with extreme caution as any mistake can totally ruin the fiberglass surface; you can always take it to a professional if it is a project you can’t handle.
Also, wet sanding is a very time-consuming process, and if there are some other issues with your RV’s fiberglass paneling like deep scratches that reach the metal, wet sanding alone often is not enough.
Read Also: Most Common RV Camper Electrical Faults
RV Fiberglass Oxidation Removal Process
For the wet sanding process, you will need a fine 2,000-grit sandpaper for light oxidation and a coarse 1,200 – 1,500 grit sandpaper for more extreme oxidation.
When choosing sandpaper, you want to be cautious of its grit size; this is because coarse sandpaper with low grit size poses a greater risk of over scratching and damaging your RV fiberglass surface. With that being said, it is time to work!
Soak The Sandpaper
After getting the right grit-size sandpaper, you will need to soak it in some water for at least 24 hours; it is also recommended to add a couple of drops of automotive soap to the water. This is done to reduce the sandpaper’s corrosive properties, so it doesn’t burn the paint.
If you are making use of several pieces of sandpaper, you want to make sure you soak each and every one of them. When adding the automotive soap to the water, you want to make sure you do not use a polishing or waxing solution since you will do these things separately after getting done with the wet sanding.
Wash the RV
After getting your sandpaper ready, the next step will be to thoroughly wash your RV. You want to work on a clean surface, free of dirt and debris
you can use the same automotive soap used in soaking the sandpaper for the purpose of cleaning the RV; once you have washed the RV, you want to rinse out the soap thoroughly with water.
Allowing your camper to dry is totally not necessary; in fact, a wet surface works better during the sanding process.
Sand The Fiberglass Surface
To sand your RV, you will need to wrap the sandpaper around a sponge pad, and sandpaper squeegee. This helps to create a more even sanding surface than if you were to make use of your hands. You want the sandpaper to lay completely flat against the surface of the fiberglass.
Using a circular motion, you want to begin sanding the area, applying a little pressure. You want to use the lightest pressure possible in order to avoid damage to the RV’s paint unless your goal is to remove it as well.
If the light pressure is not causing any change to the surface, you can keep increasing the pressure until it does.
When sanding the fiberglass surface, you want to change the direction of the sanding motion from time to time to make sure that all parts get equal treatment, and that you get an even sanded surface.
While you are sanding, you want to keep an eye on the sandpaper moisture level; you do not want it to become too dry as this can cause it to burn the paint of the RV.
Once sandpaper wears out or becomes too dry, you want to promptly switch it for a new one, that is why it is advised to get more than one piece of sandpaper for this project.
If you are making use of coarse sandpaper, you may need to go in with finer sandpaper to totally remove any light scuff marks or abrasions left by the coarse sandpaper.
Rinse And Allow To Dry
Once you’ve successfully sanded the fiberglass surface until it becomes smooth to the touch, it is time to move on to the next step.
Next, using a water hose, you want to completely rinse out any soap or sanded residue off the fiberglass surface. You want to make sure you carry out a complete rinsing because you are going to be applying polish and wax over the surface, so you want a completely smooth surface.
Once the rinsing is done, you want to allow the RV to dry.
However, you fo did not want to place your RV directly under the sun; this is because your RV has just been stripped of its protective covering; placing your RV under direct sunlight will cause great damage to the sanded areas.
Instead, you can try parking your RV underneath a shaded area under trees or in a garage. You can make use of a towel or even a hairdryer to help you speed up the drying process.
Whatever safe drying method you make use of, you want to make sure the RV surface is completely dry before moving to the next step.
Read Also: Learn How to Keep RV Fridge Cold Always
Apply Polish To The Fiberglass Surface
Once the RV surface is dry, you will need to apply some polish to the surface; for this process, you want to go for a high-grade super duty polishing compound even if they might be a little pricey, they are a lot more durable compared to the cheaper alternatives.
To apply the polish to your RV surface, you can make use of a buffer or a piece of clean cloth. While using a bufferless power-intensive and applying the polish more evenly
but not everyone has a buffer lying in their toolbox, so instead of going out to rent or buy an expensive tool, you can just make use of a clean cloth lying in your home, but you might be left with an uneven finish.
Depending on the product you are using, you may need to apply the polish 3-5 times in a circular motion like when you were sanding; you want to carefully follow the instructions given by the manufacturer of the polishing compound.
And during the application process, you do not want to apply too much pressure in order to avoid burning the paint.
Apply Wax To The Fiberglass Surface
This is the last and final step, applying a layer of wax all over the newly applied polish will help to protect its shine and delay the process of oxidation.
Apply an RV wax on the area to protect the sanded area from outdoor elements. Aside from that, waxing will impart a better shine to the fiberglass, as well as will level the sanded surface with the rest of the fiberglass.
How To Prevent RV Fiberglass Oxidation
While there isn’t any way to completely stop the process of oxidation, there are ways this process can be delayed, and the effects are reduced.
Regular Maintenance
Depending on the size of your RV, Washing, can be a very tedious job, but it’s necessary to protect the beauty of your RV. You want to set a routine for regular cleaning and washing your RV.
You can do this either by hand or with special RV brushes and extenders; after washing, you want to rinse thoroughly to remove every soap residue. Then, apply a marine-style wax or polishing compound to preserve the gel coat.
Use only High-Quality Products
Your RV is a significant investment, and if you want it to look good for a long time, you will need to protect it. That means purchasing high-quality products for washing and waxing it. Focus on marine-grade products, including RV restorer formulas, that help protect against oxidation.
Keeping Your RV away from weather elements
While it’s not always possible to park in shady areas while camping in your RV, storage is one way to combat oxidation. You want to make sure you store your RV in a climate-controlled area.
An RV-sized garage is ideal, but many storage facilities offer climate control to preserve motorhomes, fifth wheels, and campers as long as possible.
When storing your motorhome outdoors, always use a weatherproof cover that blocks the sun’s rays, too. And remember to keep washing and waxing regularly, even if you don’t take trips that often.
Conclusion
Depending on the level of severity, the process on how to remove oxidation from RV fiberglass might not be easy, but after achieving that new and shiny surface, you will find out it was worth it.