Published Date: July 5, 2022
Last Updated on June 22, 2023 by
It’s very easy to take access to fresh water for granted. When using your RV, you rely on the freshwater system for your supply of clean, fresh water. To get clean water, it’s important that you sanitize your RV’s fresh water tank and always keep it clean. Sanitizing your RV freshwater tank is an easy process that will ensure your tank does not turn into a breeding ground for all sorts of bacteria and other microorganisms.
Table of Contents
Benefits of Sanitizing Your RV Freshwater Tank
Sanitizing a freshwater tank is highly important regardless of whether you use your RV all the time or use it intermittently. The tank holds the water you consume; neglecting it will give room to harmful microorganisms that contaminate the water. Regularly sanitizing the tank and water lines will ensure that the water you use and consume is clean, odorless, and safe.
How Often Should You Sanitize Your Tank?
Your RV freshwater tank supplies clean water for cooking, drinking, dishwashing, doing laundry, and showering. To guarantee the water is safe to use and consume, clean your tank and water lines every six months. You may employ the services of a professional, but the sanitizing process is simple and can be done on your own.
Sanitizing your tank doesn’t necessarily have to take place every six months.
You may want to sanitize more often if:
- You lent or rented out the RV
- The water has a foul odor
- You bought a used RV
- The water tastes bad
How to Sanitize RV Freshwater Tank
You don’t have to carry gallons of water on your trip when your freshwater tank isn’t supplying clean and safe water. All you have to do is sanitize the water system of your RV. Although the task is easy, it will take the better part of a day.
We recommend starting in the morning, letting the bleach solution sit during the day, and completing the sanitizing process in the evening. You also want to choose an area with no plants, as the drained bleach solution can harm them.
Here are the supplies you will need for the sanitizing process:
- Chlorine bleach
- Measuring cup
- Funnel with a flexible hose and stopper
- Gallon-sized pitcher or bucket
Follow these steps to sanitize your RV fresh water tank:
1. Turn off the water heater and water pump
It is highly important to turn off the water heater and water pump before draining the water system. If the heater is on while you drain the tank, it can become damaged trying to heat an empty water tank. To avoid damaging the heater, turn it off and wait for a few minutes for the tank’s water to cool before draining it.
You should turn the water pump off as you’ll need to open every faucet in the bathroom and kitchen. The open faucets will let in air which will help in the draining process. Ensure you have all the water you need before starting this entire process.
2. Drain the fresh water tank
You will need to drain the entire tank if your tank is holding foul, unhealthy water. In such a situation, you may want to keep on the water pump and turn it off once the tank is fully drained. If the water in your tank is a clean one, you may choose to drain the tank until it’s halfway full or one-quarter full.
There are drain valves underneath the couch to drain your RV water system. Open the valves once you locate them. Most recreational vehicles have two valves for cold and hot water each. If you have trouble locating these valves, check your owner’s manual.
3. Detach all filters
Most purifiers and water filters are external, but check for any interior filter and detach it too. The filter is cylindrical and can be removed by twisting the hose off by hand. This is an excellent time to replace all your filters. You don’t want to reintroduce harmful bacteria into your clean, freshwater tank.
4. Mix the sanitizing solution
You don’t want to pour undiluted bleach into your water system, as it will damage the system. You want to dilute the bleach first before using it. The amount of bleach you need depends on the size of your tank. For a 40-gallon water tank, dilute one cup of bleach with four gallons of fresh water. To know the size of your tank, consult your owner’s manual.
5. Fill the tank with water
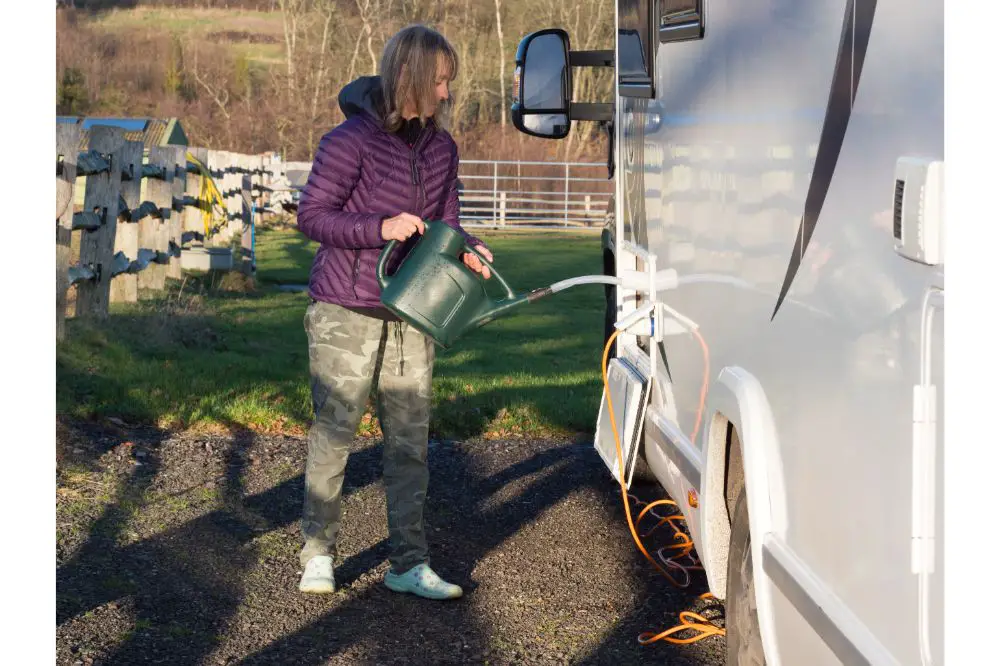
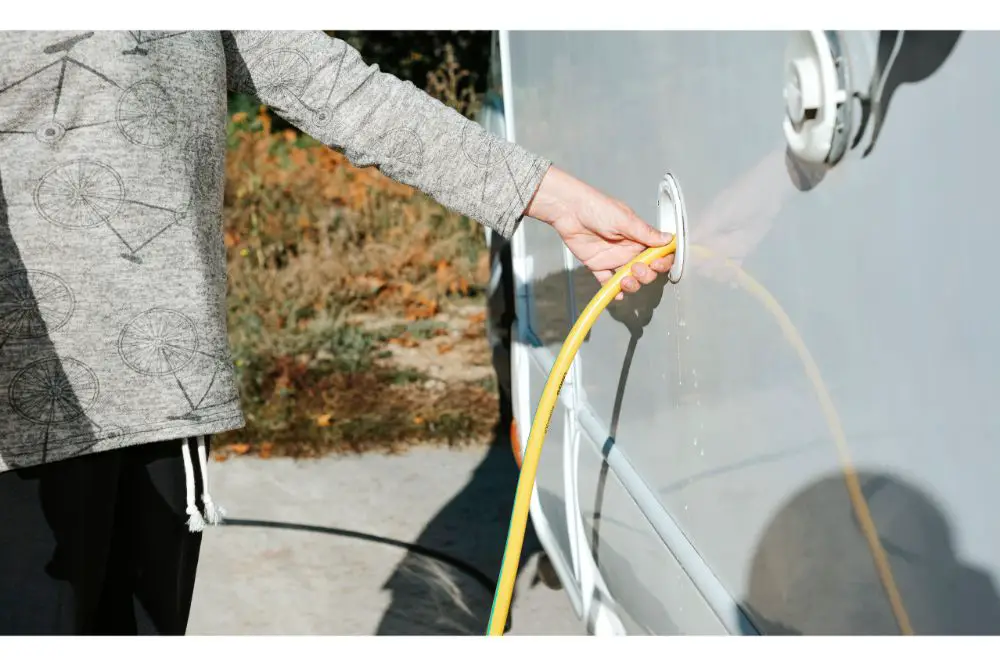
Using a funnel, pour the diluted bleach solution into the tank. Use a hose connected to a potable water source to fill the rest of the tank with water. Ensure you don’t miss any spot as you fill the tank to the top. You know you’ve covered all the spots in the tank when you see the water overflowing.
6. Clean the pipes
You also want to ensure that the water lines get enough of the bleach mixture. Once the tank is full, turn on every faucet in the kitchen and bathroom. This will ensure that the entire water system is sanitized. Leave the faucets on for a few minutes before turning them off. Allow the water to sit in the tank for a minimum of four hours and a maximum of 12. This is why we recommend starting the sanitizing process in the early hours of the day.
7. Drain the RV tank and flush the bleach solution from the water system
Open all the water lines to drain the tank. Since the bleach is diluted, you can drain the tank into a storm drain. You can also drain onto nearby grass or into a dumping facility.
Refill the tank with clean water using a hose connected to a clean water source. Fill the tank until it overflows before draining again. Let the water run through each faucet for a few minutes. Refill and drain until you’ve completely flushed the bleach out and can no longer see and smell it.
8. Replace the filters
Once you’ve gotten rid of the sanitizing solution, turn off the water supply and replace the external and internal filters with new ones.
How Long Should You Keep Freshwater in Your RV Tank?
Experts recommend changing the water in your RV tank every two weeks. Leaving water there for a longer period can result in the water developing a bad smell and taste. A water filter will not stop fungal spores, mold, mildew, and bacteria from contaminating your water.
You may set a reminder to change the water every two weeks. Avoid using any water left in your RV tank for more than two weeks.
What Other Cleaning Agent Can You Use?
Besides chlorine bleach, you may clean your RV tank with white vinegar, hydrogen peroxide, and peroxide. We wouldn’t recommend using these products instead of bleach, as bleach does the job better.
Your tank and water lines should be clean and properly sanitized to supply you with clean and fresh water. Sanitizing your RV tank is quite easy and should be done about two times a year.
Once you’re done sanitizing your water system, leave the tank empty unless you’re immediately heading out on a trip. If you are, fill your tank with clean water and enjoy clean and safe water on your trip.