Published Date: July 6, 2021
Last Updated on March 23, 2023 by Camper Front
As a part-time or full-time RVer, there are certain challenges you are bound to experience with your RV, and the water system is one of them. The water system is a vital component of an RV, so any trouble with it may cause you significant inconvenience.
That is why it is necessary that you understand RV water system troubleshooting procedures and how to fix them, even if it’s a temporary fix until you can employ the services of a skilled professional.
Here are some preventative maintenance tasks to carry out with your RV water systems, as well as indicative signs that your system requires some care.
Table of Contents
RV Water System Troubleshooting

Problem 1: The Pump Is Not Running At All
The truth is that there are many reasons why your RV water system would stop working. It could be due to a damaged cable, a faulty cable connection, or the pressure is not enough.
Other possible issues could be clogged or blocked water terminals. However, here are some troubleshooting tricks to help you get your RV water system functioning again.
Below are the solutions:
1. Inspect the Water Supply Channels/Lines
The water supply lines are the first to check when the water system seems not to be working fine.
The chances are that the supply lines that feed the water pump or the faucets are blocked by some particles or debris accumulated over a long time.
When the lines are clogged or blocked, it’d be difficult for water to pass through. During the inspection, if the lines are blocked, simply find a means to remove the blockage, and your RV water system should be working fine again.
2. Repair Leaky Lines
While inspecting the supply lines, if you discover any leaking channel, you need to fix it immediately. When the water supply lines or channels are leaking, water is difficult to pass through and get into the various places it is needed.
You may not be able to repair leaky water lines by yourself, so you may need to engage an RV technician to help you out.
3. Check The Tanks
Depending on your RV set-up, there are several tanks situated in different positions to serve different purposes.
When water doesn’t flow into the faucets and other outlets, it could be that the water in your holding tanks or freshwater tanks is very low, or perhaps the tanks are empty.
It is essential to say that when water is shallow inside the holding tank, the water pressure may be low, and this could be the reason why water isn’t getting to the outlets.
So, if this is the case, all you need to do is pump water into the tanks and see if the issue was solved.
4. Check The Power and Pressure
Another possible cause of your RV water pump not working is low power or pressure. For water to move from the tanks to the outlets, it needs a certain level of pressure.
Here, you need to get an RV pressure gauge and check if there’s enough pressure to push water from your RV tanks to the faucets.
One way to boost your RV water pressure is by using a booster pump. Another way to do that is by changing the filters and removing debris that may have clogged the lines.
When you have checked for pressure and everything seems fine, next is to check if your RV pump is getting enough power to push water from the tanks to the outlets.
The RV power lines (wired connections) need to be checked by an RV technician. If you notice that your RV pressure switch is not working even when it is turned on, the chances are that it is due to a bridged wired connection.
More so, you need to ensure that your RV battery is charged; if the battery is not charged, your RV water system may not get enough power to transport water from the tanks to the outlets.
So, simply put, faulty wiring, low battery, and faulty filters are part of what you should check out when your RV water system is not working.
Problem 2: RV Water System Not Working After De-Winterizing

When the winter season is approaching, one of the things you must do as an RV owner is to winterize your motorhome plumbing system.
This process may include pouring in antifreeze or any other liquid solution that would keep your RV supply lines from freezing out due to winter temperatures.
Similarly, when the winter season is over, you need to de-winterize your RV. So, if you just de-winterized your RV and the water system seems not to be working fine anymore, here are the possible troubleshooting tricks to try out.
Solutions:
5. Close All The Shut-off Valves
After de-winterizing, one of the things you should check is the shut-off valves – are they still open? Is any of the valves faulty?
Take your time to ensure that all the shut-off valves you opened to de-winterize your RV are properly closed back, and that none is faulty.
Interestingly, RV shut-off valves don’t fail easily. They can last up to a decade before showing signs of failure.
Regardless, they are inexpensive to replace; hence, if you notice any issues with one of them, you should replace them immediately.
6. Ensure The Drain Is Closed
Winterizing and de-winterizing require opening up the drains for all water or antifreeze from your RV water system.
So, after de-winterizing and your RV water system isn’t working fine, simply check if the drain was closed correctly.
However, the drain system comprises many components such as the drain valve, drain caps, hoses, etc. You may need to inspect these components and ensure they are all in good shape.
7. Make The Water System Airtight
If air could get into your water lines, the water system won’t function properly. So, as a way of troubleshooting your RV water lines, check out for leaks and have them closed up.
8. A Damaged Water Pump System?
As sad as it may sound, you may be faced with a damaged water pump system if you have tried out the various tips mentioned above and it’s still not working. There are quite many reasons why your RV water pump could go bad.
The freezing temperature during winter could have damaged something in your RV water system, which is causing it not to function.
More so, when you start hearing unusual loud noise after turning on the water pump, it is a sign that something is wrong and needs to be attended to.
Fixing or replacing the water pump is not a job for everyone; you need to engage a professional RV technician to do that.
RV Water System and Components
Many RV water systems have a similar way of operation, and they also have similar components.
Here are some of those components.
Water Fill Valve
This is usually located on the driver’s side of your RV; you can hook your hose up to a well or city water if you happen to stop at a campsite with a water hookup. You can also use It to store water for off-grid camping.
Fresh Water Tank
The freshwater tank is used to hold water for use while camping.
12-Volt Water Pump
This is a vital component and is used to distribute water throughout the RV when you decide to go dry camping.
This enables you to go off-grid camping without worrying about water hookups. But if you are going to be at a campsite with a water source, you won’t need it.
Water Heater
This device is used to heat up your water for both bathing and cleaning. The water heater can either be powered by electricity or propane.
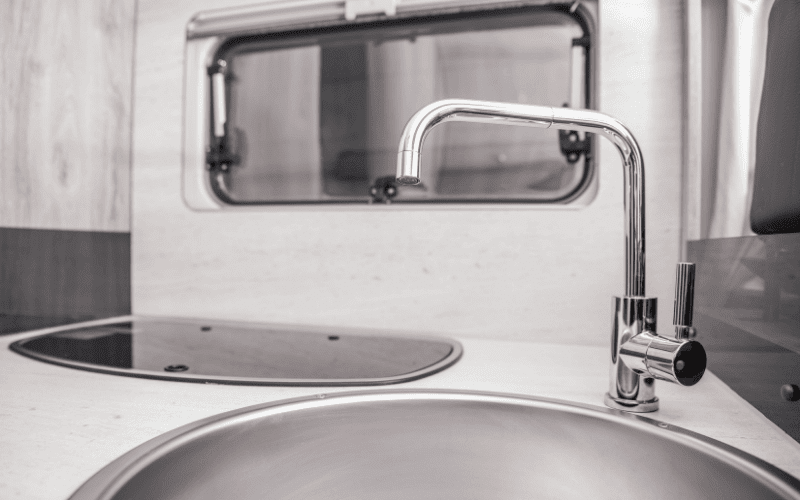
Kitchen Sink, Bathroom Sink, and Shower
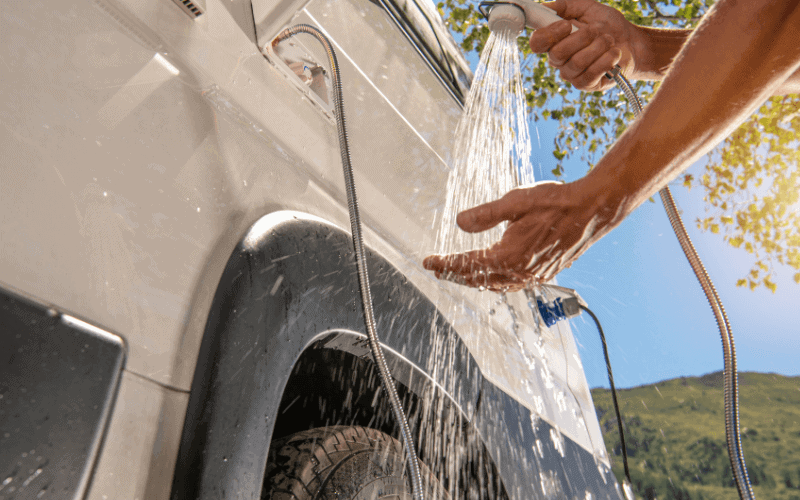
These are for cooking, bathing, and cleaning. Some RVs are sometimes equipped with an outdoor shower too.
Gray Water Holding Tank
This holding tank stores your wastewater from sinks and the shower.
Black Water Holding Tank
This tank holds toilet waste.
How To Maintain Your RV Water Systems
Here are some ways to maintain your water system so that any issue can be minimized.
Black Water Tank
This is the holding tank for the toilet waste. This tank can only be emptied into your home septic tank or a pre-approved RV dump area. When hooked to an RV site, always leave the valve closed on the black water tank.
This causes the solid waste to break down altogether; doing this before emptying the tank prevents you from leaving behind any waste accidentally.
This also helps to prevent odors from the septic system from escaping into the living area.
Gray Water Tank
This tank holds wastewater from showers and sinks. It’s easy to recognize the gray water valve due to its small size.
It has a diameter of around 1.5 inches. It is advised to dump out the gray water tank last; this way, the water to clean the hose.
Sanitation
With time, water stored in the RV tanks may become stale. The tanks can also hold onto odors.
So you need to sanitize and clean your freshwater tank regularly. When sanitizing your RV’s water system, you need to start by emptying out the system completely.
You can do this at a dump station or a campground with full hookups. This process allows you to clean your black water tank simultaneously with the freshwater tank.
There are numerous cleaners and sanitizers you can find on the market, but many people prefer to use ordinary bleach.
However, when using bleach, you need to know the correct ratio amount of bleach to water you would need to use in accordance with the amount of water your RV’s fresh water system holds.
The recommended ratio is one cup of bleach per 10 gallons of water. So if you have a 70-gallon tank, you’ll need seven cups of bleach.
But you can add an extra cup or so because most water heaters and water lines hold extra gallons of water.
To sanitize your water system, you need to start by pouring the correct amount of bleach into your system.
You can either make use of a small hose and funnel to do this, but if your RV has a city water fill valve, it may be pretty challenging to put bleach into your system.
You can make the bleach and water mixture inside a small bucket of water with your bleach solution and use a small electric pump and two short hoses to pump the mixture into your tank.
You can also hook up your hose to the RV like you are about to fill up the tank, but instead, pour your bleach into the hose before connecting it to the water supply.
Next, fill up the tank normally and ensure the valve on each sink in your RV and the shower is opened. Once the air has been blown out of the lines and water starts to flow normally, you can turn the valves off.
Allow the bleach mixture to sit in the water system for at least for 24-hours so that it can adequately sanitize your system.
Once the wait time is over, drain your water system so that the mixture goes to the gray water tank, then allow it to sit for a few hours in order to eliminate any odors that might be present in the tank.
Once that is done, you can go ahead and drain your system entirely. After which, you can now fill your system again.
However, if you happen to taste chlorine in the water, you would need to drain your system and repeat the process until the taste of chlorine is no longer present.
Hoses
You cannot make use of an ordinary garden hose to connect an RV to a water source. You need to get one that is specifically designed for fresh drinking water.
These types of hoses are usually white, lead, and BPA-free and have no rubbery or plastic taste.
When not in use, you can wind the drinking hose up and hook the ends together. Ensure that they are stored separately from the sewer hoses.
Winterizing
Before storing your RV during the winter, the water system needs to be properly winterized. This includes draining out all the water and then adding antifreeze or blowing out all the water lines.
If you add antifreeze, you will need to turn on all of the faucets until the antifreeze runs out of the taps.
You will also need to winterize the water heater. Start by draining the water out, then close up the bypass valve, or you’ll need up to 10 gallons of antifreeze.
When sanitizing or winterizing your Rv water system, avoid opening the drain plug on the water heater while it’s hot. Turn it off and allow it to cool down before opening it.
Conclusion
The above-mentioned RV water system troubleshooting tips will help you properly take care of and maintain your water system; this will prevent you from ending up with a faulty water system while out on a trip.
Recommended Posts:

